background

Sunday, December 30, 2012

Spring Catty and Sale-a-Bration Sneak Peeks

I managed to sit at my desk long enough to make two cards today!! Plus I walked outside with the walker for 10 minutes. Physical Therapist said I can graduate to a cane probably week after next whoo hoo! I will be driving in 5 more weeks yipee!!!!!

 This stamp set is called By the Tide and it's the first scream you heard from me when I Initially opened the new Spring Catalog. I love all things beachy, and since I live on the coast, I have lots of tiny shells and things that I pick up when walking on the beach. That's a baby starfish that washed ashore and died. I never take live things from the beach except when I was teaching and had a tank at school to keep them in. Scalloped Circle and circle punches, Perfect Polka Dots embossing folder. Pool Party, Island Indigo, Very Vanilla card stock. Cajun Craze, More Mustard, Basic Gray, Not Quite Navy, and Pink Pirouette inks.

The second card uses some paper from Sale-a-Bration. I just realized I forgot to put the thread in the tag! So you will have to visualize some linen thread in it!! lol I thought the circles kind of suggested water, but the colors were bright. So I sponged some Crumb Cake ink on it to tone it down a bit. Two Tags die, Fancy Fan embossing folder, Very Vanilla, Not Quite Navy and Baja Breeze card stolck. Cajun Craze, Old Olive & Not Quite Navy inks.

Saturday, December 29, 2012

Sneak Peeks & Other Stuff

Well, I'm one happy girl because today I was able to sit at my desk long enough to make a card! This card is made from Sale-a-Bration items.
 I made this thank  you card right before I had surgery, so I haven't had a chance to post it until now. The stamp set is From My Heart, designer paper is Twitterpatted, I used the pleated ribbon that's on the Clearance Rack right now, Lacy Fan embossing folder, Antique brads and the new lace tape from the Spring catalog.
These are some of the tags I made for my family's gifts.


I'm Back!

I so glad to be back home!! Hospitals are just no fun ya know? lol  My new knee is doing very well and after an infection scare, things are lookin' good. I'm so anxious to get enough range of motion so that I can sit at my desk and create!! I have been doing some things from my recliner. I got a label maker from Christmas and labeled all the containers in my Stack n' Store.

More Clearance Rack!!


We've added 15 more products to our Clearance Rack Blitz! See the list of newly added products below:
  • Neutrals Flower Brads
  • Regals Flower Brads
  • Subtles Flower Brads
  • Pretty in Pink 5/8" Satin Ribbon
  • Bashful Blue 5/8" Satin Ribbon
  • Chantilly 1/2" Crochet Trim
  • Artichoke 3/8" Denim Jean Ribbon
  • 2010-2012 In Color Stampin' Write Markers
  • 2011-2013 In Color 12" x 12" Textured Cardstock
  • Timeless Portrait Designer Series Paper
  • Beau Chateau Designer Series Paper
  • Well Worn Designer Series Paper
  • Beau Chateau Side Notes
  • Sweetest Stem Embosslits Dies
  • Flower Burst Embosslits Dies

Wednesday, December 19, 2012

Tuesday, December 18, 2012

Secret Sister Swap

Our blogging group Paper Pajama Party Girls, had a swap and I wanted to share. Jackie sent me the nicest bunch of things:) I felt totally spoiled when I tore into that package. We were supposed to wait until Sunday.... but I didn't. <evil grin> Not only did I open it as soon as it arrived, but I played with things too!
Thank you so much Jackie!! Big hugs!!
I just love the colors and the design. I have to figure just the right pictures to put in it.
Adorable card that Jackie made.


More Gift Packaging

Here are a couple more gift packaging ideas. These are for my BFF Barb. She loves taking care of the yard and flowers. She's got the green thumb I wish I had:) I looked at some directions for making poinsettias with punches, but they used that 'other brand' that looked like a leaf. So, I looked at my new Five Petal Punch and thought it would do quite nicely. I put veins on the petals with my stylus. The smaller petals are adhered with a dimensional and finished off with pearls. I drew the pot on a piece of computer paper to get it the right size and proportions before making it from a sheet of crumb cake card stock. I sponged the edges with soft suede. The greeting is from the new spring catalog. The stamp set is called, "That's the Ticket" and was punched out with the ticket punch.

The second one is a bag I made from card stock and put the gift inside. Last is an ornament made from the Keepsake Ornament bundle.
These are the bags I made for my Secret Sister. I bought presents then made these bags to put them in. I'd never made anything like these before and this is what got me started making packaging for Christmas gifts. I had such fun making them for Nancy.
 I sure wish I'd seen this kiss tree in time to make some for the craft show. Next year I'll make some, cause I think they are sooo cute! The design and directions are from Brenda Quintana Link to her tutorial.

Sunday, December 16, 2012

Calendar Class


How would you like to create a one of a kind, 5 x 7 desk calendar with 12 individual months that have been custom designed? This class will meet on two consecutive Saturdays: January 26 and February 2, from 10:00 to 12:30, and will be held here in Aiken. (We'll make Jan. through June on the 26th and July through Dec. on the 2nd.) The class fee is $35.00, which includes both days and all the supplies needed.

You will learn stamping techniques and the use of tools such as the Big Shot die cutting machine and various punches. No prior stamping experience is necessary, novices are welcome:)

We're looking forward to meeting new friends and having fun creating together!

Payment is needed to reserve a spot and is due by January 19th. You can stop by and pay by cash, or mail a check to either of us.

If you have any questions please email me by clicking on the button in the right hand column.

Clearance Rack Blitz!

I had such fun pouring over all the new things on the Clearance Rack with my friend Pam. We were thrilled to see all the wide striped ribbon! Oh and the designer series paper? Gorgeous and some of it was only two dollars! Then there was the pleated ribbon for only a buck!!! 

Hurry to find your favorite products at a deep discount.  SHOP NOW!

Friday, December 14, 2012

Membership Has its Privileges!


Beginning in February

Here are some great reasons to join a club:
  • Create awesome projects without any planning or prep-work.
  • Have fun & make new friends at the same time.
  • Get a free new Idea Book & Catalog each year.  
  • Get free merchandise!  You'll be a hostess once during your Club getting your choice of FREE hostess stamps & other products. 
  • Learn new ideas & techniques plus ways to use the products you already have. 
Hostess Club
As my friend Jessica says, 'Stampers are the friendliest people!' In this club, you will learn how to make a card or project using different products, techniques or folds. All materials will be provided for this make and take.  It meets once a month. Each month a different club member will receive all the hostess benefits (free products). The fee for this club will be based on the number of individuals that sign up. Basically, you agree to purchase a set amount in Stampin' Up! product before shipping/ tax based on a minimum workshop of $150.00 divided by the number of individuals that sign up for the event. A minimum of 5 individuals must sign up for the event setting
the maximum for the night at $25.00 before tax/shipping. Members will receive a free copy of the Idea Book & Catalog. This club is great for people who enjoy stamping but may not have a large base of contacts to invite or time to organize a party of their own.  A terrific benefit is to receive hostess benefits.

Classes and Other Events

Workshops
Do you want to see what stamping is all about? Or maybe just have a fun evening with friends trying out the latest techniques and earning free products along the way? At a workshop you are the hostess & after your friends place their orders you get all the free stuff!  Invite your friends to come to your home & I'll do all the prep work.  Just prepare a light snack & I'll do 
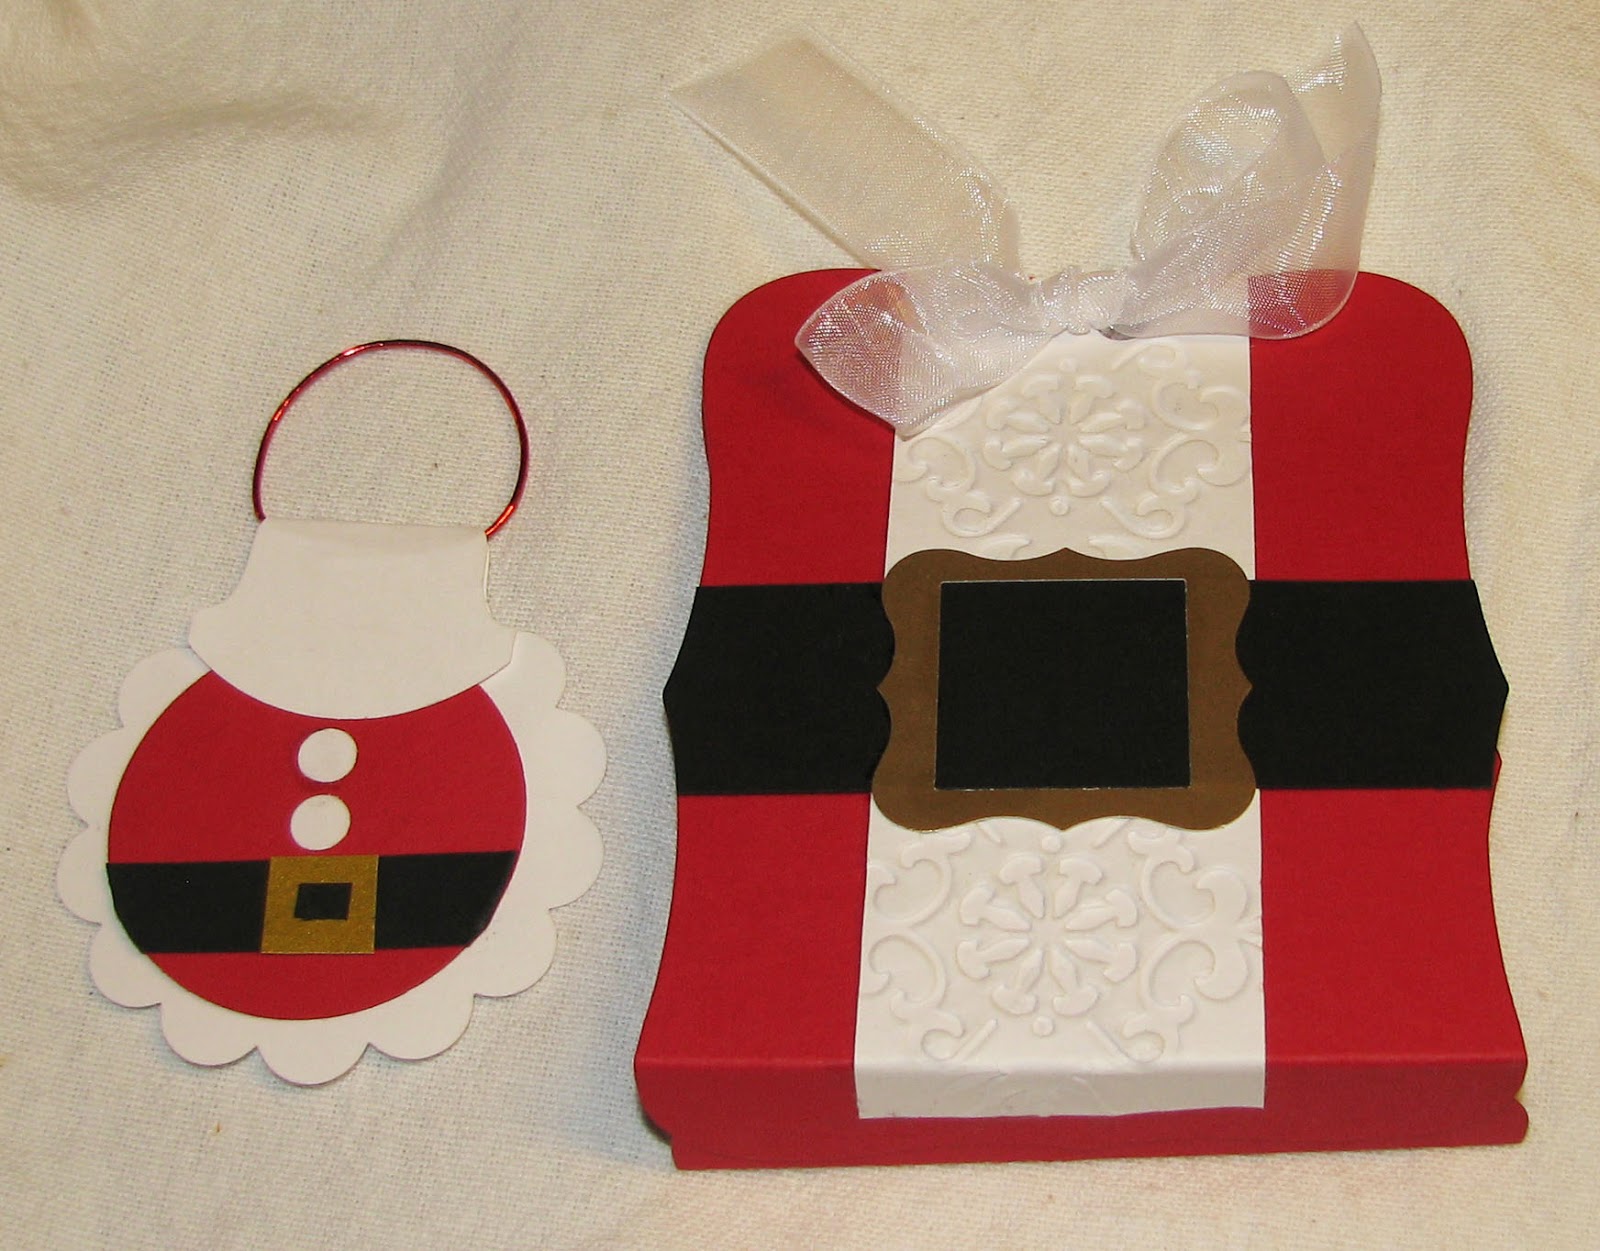
the entertaining.  We'll make 2 beautiful cards (or one card and a 3d project) & I'll also demonstrate creative ways to use our products.  This is a free event.

Stamp Camp
People are invited to the hostess's house to create pre-designed cards or projects. I provide all the paper, ink, stamps, and accessories needed to make the projects. There are two options for this party:
4 cards $10
2 scrapbook papers (12 x 12) $15
This is a very popular option as your guests get to see how easy and fun it is to rubber stamp and take their creations with them at the end of the event.

Design Your Own
I will work with you to tailor a class specifically for what you want. Prices will depend on difficulty, duration, and supplies needed. Contact me to design your class today!

Cancellation Policy:
If you are unable to attend class at the last minute & it is after I have already prepped & cut the materials you'll receive your pre-cut supplies & directions to complete the projects later at home.
However, if I am able to find a replacement for your spot I will forgo payment.   

Offered by: Carole Parsons
Stampin’ Up! Independent Demonstrator
803-648-2774, 803-645-6974
cparsons1981@gmail.com
Business Website: http://cparsons.stampinup.net
Creative Website: http://scmagnolia.blogspot.com/

Thursday, December 13, 2012

Gift Packaging Galore

I love to create things!! When it came time to package some gifts I could not just put them in plain ole' commercial bags or boxes. You know how much I love the Build a Bird punch and have made scads of various species of birdys right? Well this bag caught my eye the minute I saw it.  My friend Pam loves birds. I made Joanne's bag from her tutorial: http://joanne-mainlyflowers.blogspot.com/2011/12/little-bird-gift-bag-tutorial.html  I made three or four of these, then I decided that I could devise my own custom packaging too. I began my construction journey with the birdhouse. I couldn't put the gift in a box made of cardstock as it was too heavy, so I found a nice sturdy box and built the birdhouse around it. There's plenty of tissue paper for insulation, and it's landscaped with various vines. I selected choice faux wood grain for the roof, and chose cellulose siding. While I did not select Tyvek as a moisture barrier, the resident cardinal will be quite comfortable with a waterproof adhesive  made from: oils, resins, and rubber. Since we live on the coast, reinforcement was needed on the roof in the form of velcro, just in case a hurricane pays us a visit, the little birdy will remain quite dry.

Next, I devised a simple bag-a-box for a gift for my friend Deborah who loves owls. I saw a picture of an owl somewhere and recreated it as best I could from memory and the punches and diecuts that I have on hand.

Last, but certainly not least, is a pair of Santa's overalls repurposed as gift bags.  Again I remember seeing overalls on the internet somewhere and began by drawing them on a sheet of paper. I determined what size container I needed for each gift and then constructed the base first. I made tabs as you find on any box. Then, I adjusted the size of the overalls needed to fit in that box/bag bottom. I cut out two overalls for each bag, one in white and a slightly smaller one in red to give a layered look and more stability for the bag/box. I spilled glue so the holly is covering up my goof on one bag while another set of holly disguises a cutting mistake on the other.  I wanted to minimize the look of the seams on the sides, so I just punched out some Christmas greetings. Oh! the belt buckle!!  I don't have a buckle die or punch, so I used the curly label punch and new mini curly label inside it. I think it made a pretty good buckle don't you?

Now, my friend Rachael loves dogs and then Barb is a Clemson fan who also loves flowers, and Suzy loves jewelry & cake decorating...

I'm off to do more Christmas shopping and stop by the DMV. Then home to bake Mom's Date Nut Bread. It is simply to die for!!  Have a great day!!

Sunday, December 9, 2012

Christmas Cards

I have two Christmas cards to share with you today. I just finished the one below, and the second one we did in Stamp Club yesterday.

Project Details
Stamps
Snow Swirled
Cardstock & Papers
Whisper White, Sahara Sand
Ink
Sahara Sand, white craft ink
Accessories
Very Vanilla ribbon, Basic Jewels Rhinestones
Tools
XL oval punch

Outside of the card
Outside of card with flap open
Inside of card


Project Details
Stamps
Joyous Celebrations, Christmas Lodge, Delightful Decorations
Cardstock & Papers
Festival of Prints Designer Series Paper Stack, Very Vanilla, Soft Suede
Ink
Old Olive, Cherry Cobbler, Soft Suede
Accessories
Cherry Cobbler twine, Stampin’ Dimensionals, markers: Old Olive, Cherry Cobbler, Soft Suede
Tools
Mitten builder punch,  ½ inch circle punch, circle from Itty Bitty Shapes punch pack, Holiday Frame embossing folder

Wednesday, December 5, 2012

Craft Show Success!

Whew! It was a TON of work, but loads of fun and I made some $$$. My friends, Deborah and Pam made it such a good time. We put all our stuff together, sold each others' things and Cha Ching!

I think I've posted pictures of most of things I made, but following the pictures of our booth there are some shots of the last few things I made. Gift card holders and some South Carolina College things.