background

Showing posts with label Calendar. Show all posts

Wednesday, May 12, 2021

Two More Styles of Calendars

Here are two more styles of calendars using the new Days to Remember stamp set. The first one is made just like the Mini Album Calendar, except the stand is stationary. It's not made to close into a album. The second one was inspired by Fellow Demo Gez Carpenter from the UK.  I had never thought of having each calendar being a small page that would then flip over. How fun! I made my stand and base differently though. Edited to add photos of the rest of the months in the chipboard calendar. 

This one has a chipboard stand

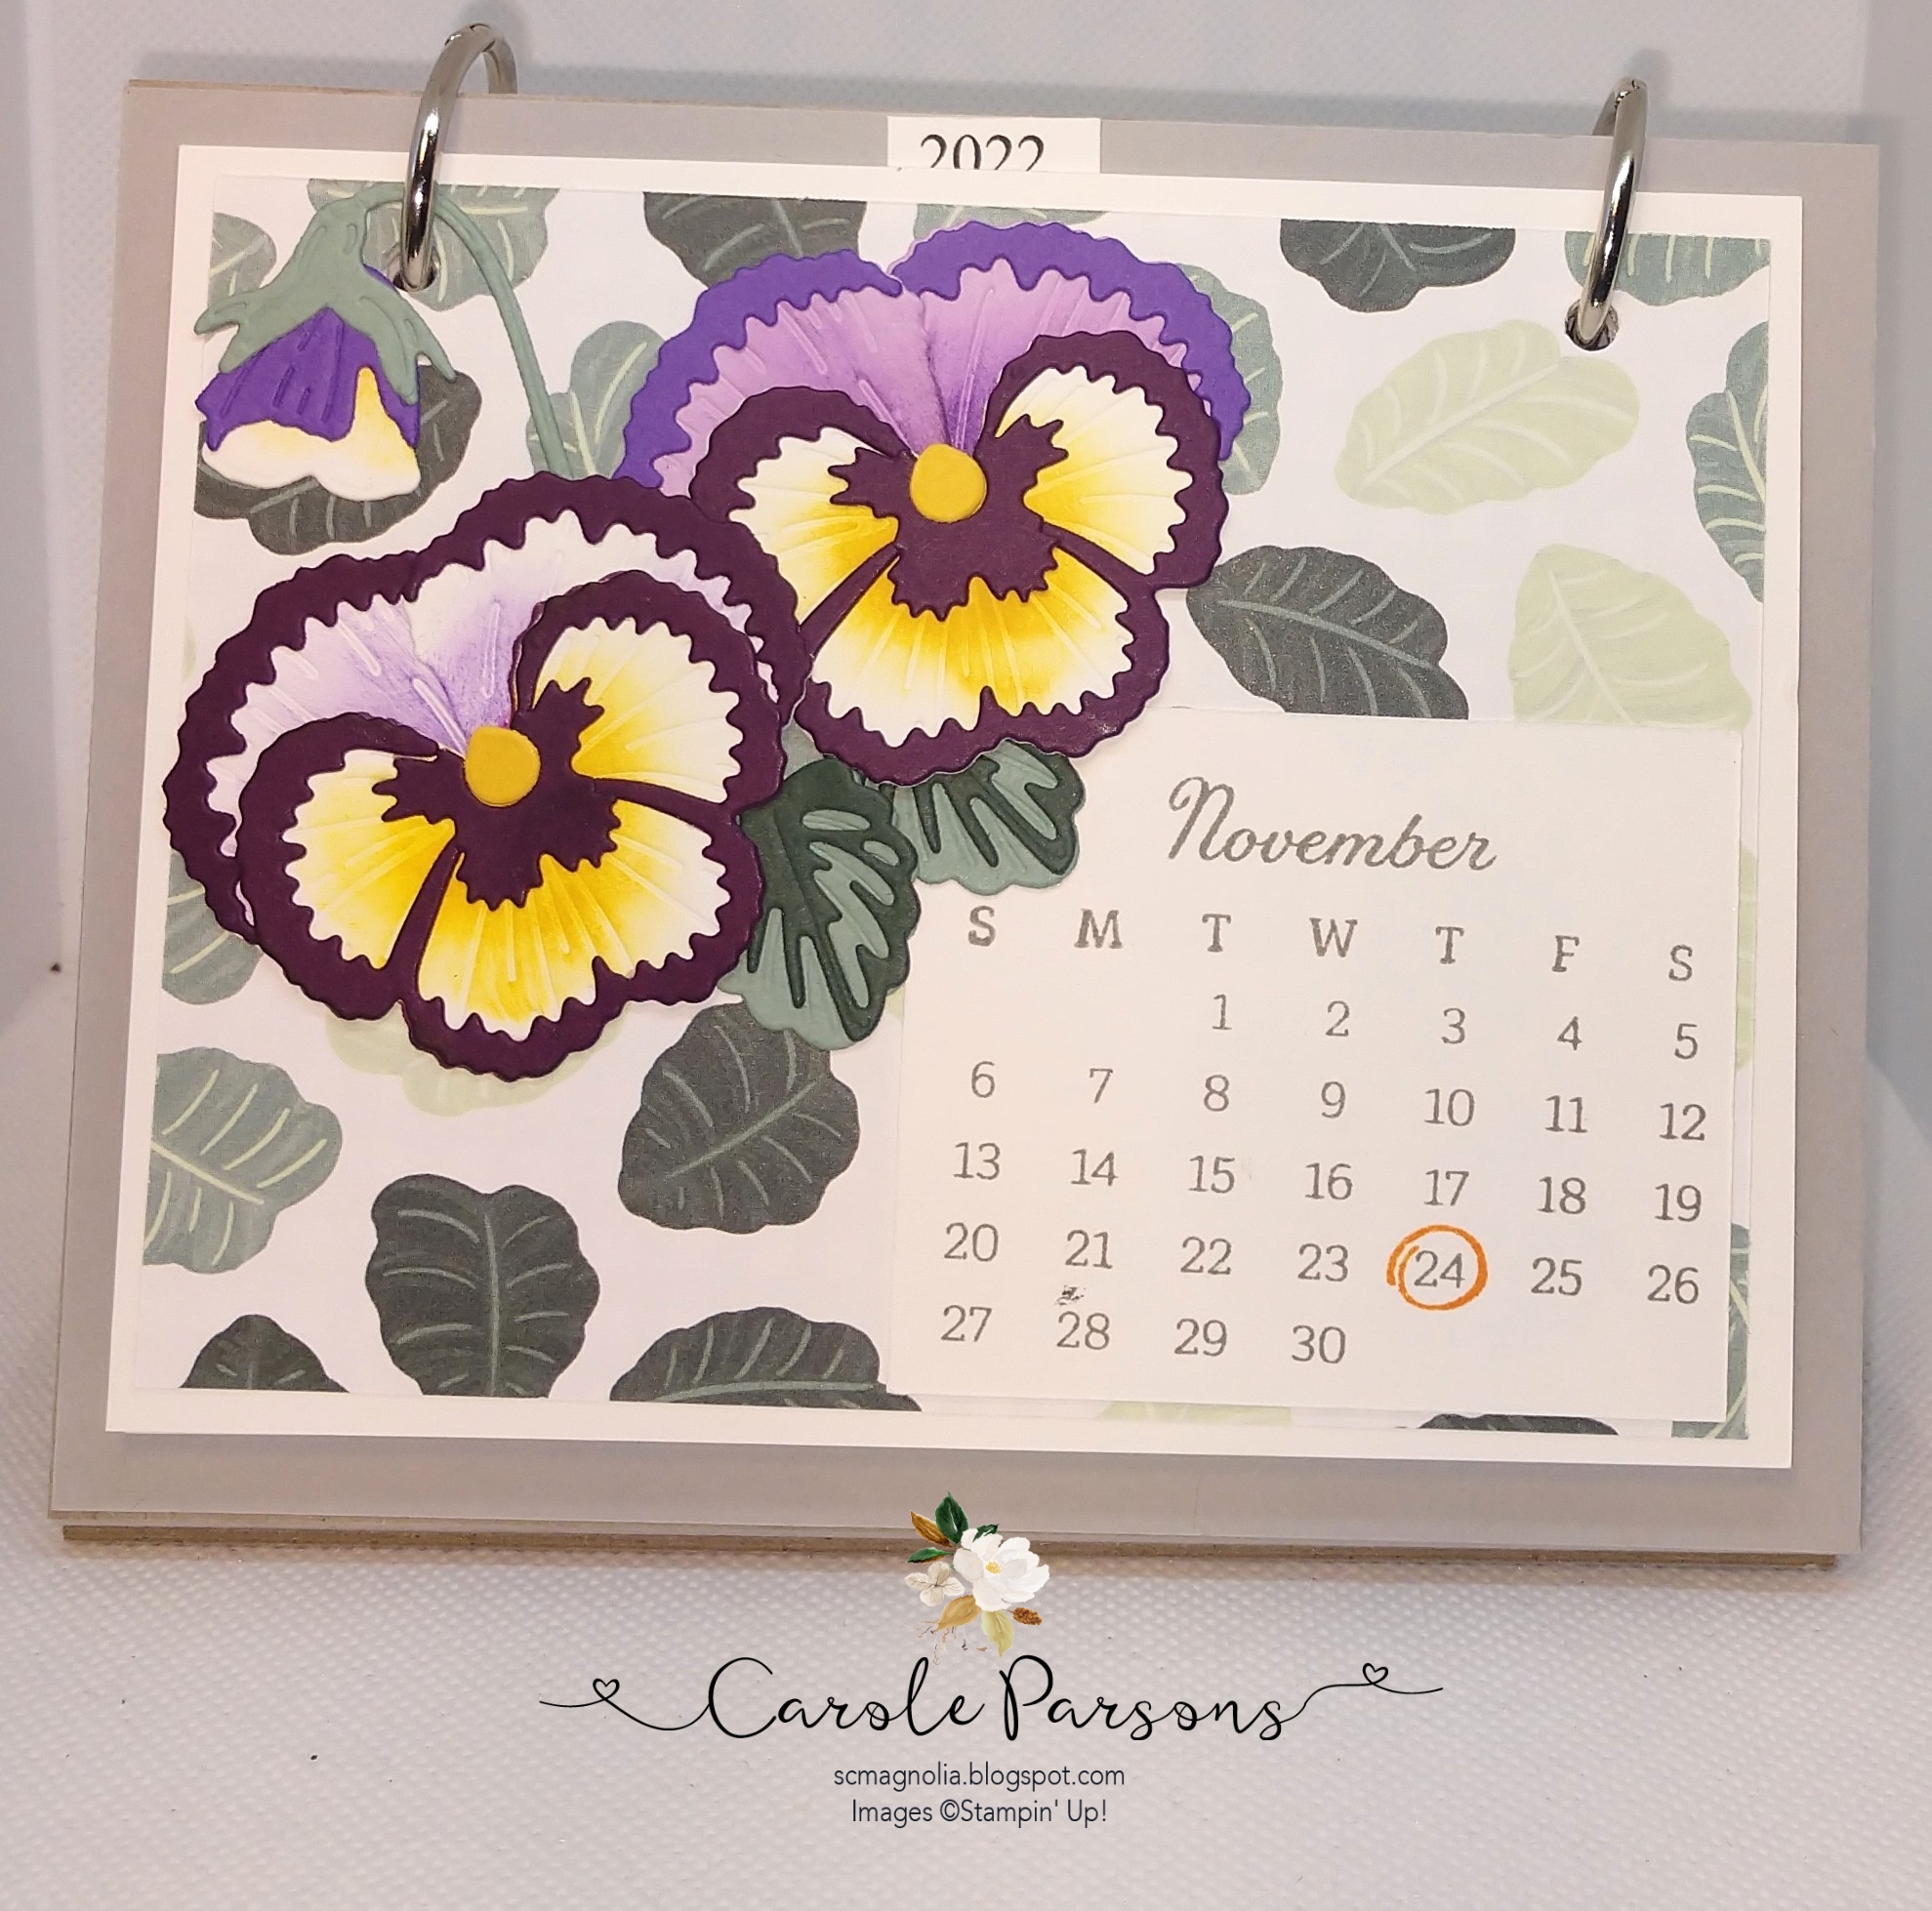
This one has a cardstock stand, the small calendar pages flip over


Chipboard Easel Calendar:  Free Tutorial Here

Flip Over Easel Calendar With Rings: Free Tutorial Here

Two previously posted calendars:

Easel With Tear-Off Calendar: https://scmagnolia.blogspot.com/2021/05/easel-calendar.html

Mini Album Calendar: https://scmagnolia.blogspot.com/2021/04/a-calendar-mini-album.html


Monday, May 10, 2021

Easel Calendar

 I posted a while back with a calendar mini album which can be used as a great reminder of a year. You simply take a photo each month and adhere to the back of that calendar page. 

Today, I made a tear-off easel calendar, with the new stamp set Days to Remember. It is so nice to able to make your own tear-off calendar tablets instead of buying them. When you get close to December, they are often out of stock. If you need a few calendars after the new year starts, forget about it! Click Here for a FREE PDF Tutorial. I adhered the pansy with Multi Purpose Liquid Glue, the year is computer generated.


  1. Base calendar: cut 4-1/4 x 11 score at 5-1/2

  2. Easel mechanism: cut 4-1/4 x 5 score at 1, 2-1/2, 4 inches

  3. Fold the center line of the easel mechanism in mountain position, then the two score lines on either side are valley folds. (It looks like a tent with side flaps.) Miter edges.


  4. With the base calendar in the mountain position, stand it over the easel mechanism. Adhere the flaps to the inside of the base calendar to make it stand.

  5. Large mat 4 x 5-1/4

  6. DSP layer 3-3/4 x 5

  7. Mat for calendars 2-7/8 x 2-1/2

To create calendar pages:


  1. Cut 12 pieces of printer paper to 2-5/8 x 2-1/4, and two pieces of thicker paper, such as the thin white cardboard used in packages of Designer Series Paper.

  2. Stamp calendars from Remember the Days stamp set. Refer to an existing calendar to determine dates/days of the week. Stampin' Up! Ink pads are the exact size needed for the seven columns needed for any month. Simply select the columns needed and ink that portion only as shown above.

  3. Select the stamp for the days of the week and stamp above.

  4. Select the stamp for the month and stamp to top. If centering, refer to Wednesday as a guide.

  5. For the months that don't have 31 days, simply use a corner piece of paper towel to wipe ink off that number. If you forget to do this, use a star or flower from the stamp set to stamp over the 31.

  6. To construct a tear-off calendar tablet, stack the 12 months together with a piece of thin cardboard on the top and on the bottom. Line the top edges together and secure with binder or bulldog clips. (use two scrap pieces of cardstock under the clip to prevent crimp lines on your finished calendar)

  7. Apply a think coat of Mod Podge to the top edge with a paint brush. Allow to dry for 20 minutes, then apply another coat. Three thick coats work better than one thick coat.


  8. After the last coat is dry, remove the clips and the top piece of thin cardboard. Apply to your calendar base.


Product List

Thursday, April 15, 2021

A Calendar Mini Album


I'm sooooo very, enormously excited about our new perpetual calendar stamp set!! We can make calendars for years and years with this stamp and it couldn't be easier. I know because in the past I've bought a few different calendar stamps and this one is the BEST:)  Updated to add other months 4/25/21

Some types of calendar stamps are made in columns which are impossible to get all straight and looking nice, even with the Stamparatus. This style is easy to use as it's all in one piece. You simply select the 7 columns that are in the month you want to make and ink only the numbers needed for that month.

 Other stamps made in this format require you to use sticky notes after inking to cover the portions not needed, or trying to wipe off the ink in the columns not needed..... But Stampin' Up! did the most clever thing. They made this stamp in the perfect dimenstions. No matter what 7 columns you need, it is the exact width of our ink pads!!!! So you only have to ink exactly what you need!!!!!!


So how about the mini album part? An easel type stand with rings is used to hang the calendar pages on. Then, you (or the recipient if you're giving it as a gift) simply take a picture each month, adhere it to the back of the calendar page, add a bit of journaling and voila, a thoughtful calendar mini album.  Journaling could consist of inspirational quotes or scripture. This could be made to celebrate Baby's First Year, First Year of Marriage, First Year of College, Recipes for Each Month, Wedding Planning, Home Renovation or New Construction. Measurements and notes for this project

I plan to have a class on making one of these soon, so if you are local you will want to have fun with friends while creating this great project.

This is the front of the book, I used some of the DSP that will be in the new catalog, isn't it gorgeous?
Notes and measurements Click HERE


Saturday, December 27, 2014

Calendars

I bought two 8 x 8 pads of Time to Flourish by Graphic 45 and made three calendars from it;-) This one is 8 x 8 and has room to write, which should help us keep up with events and appointments. Of course I have calendars on my phone and notebook but that hasn't stopped us from missing things! Maybe the old fashioned act of writing it on a calendar will help;-)  I used my new Cinch binding machine on this one and on the smaller desk calendar I made for my BFF Barb. I made another small one to keep in my craft room just to show me what day it is. I absolutely adore this paper!!