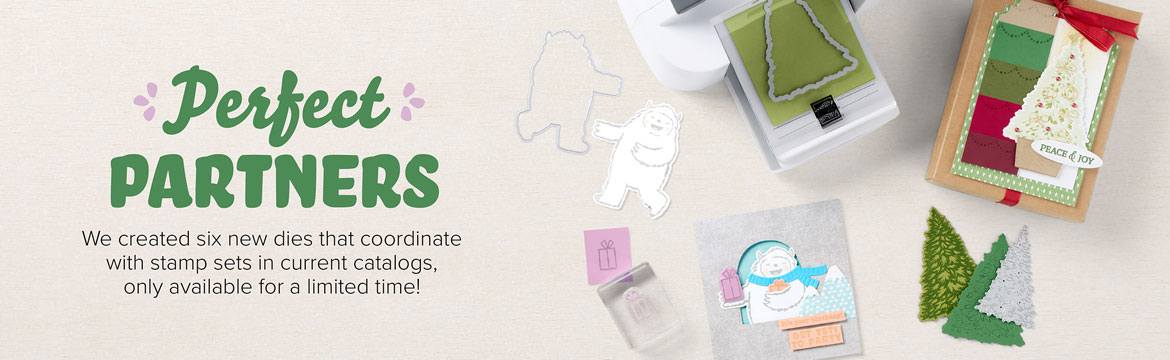
Fall classes featured these cards:
Materials:
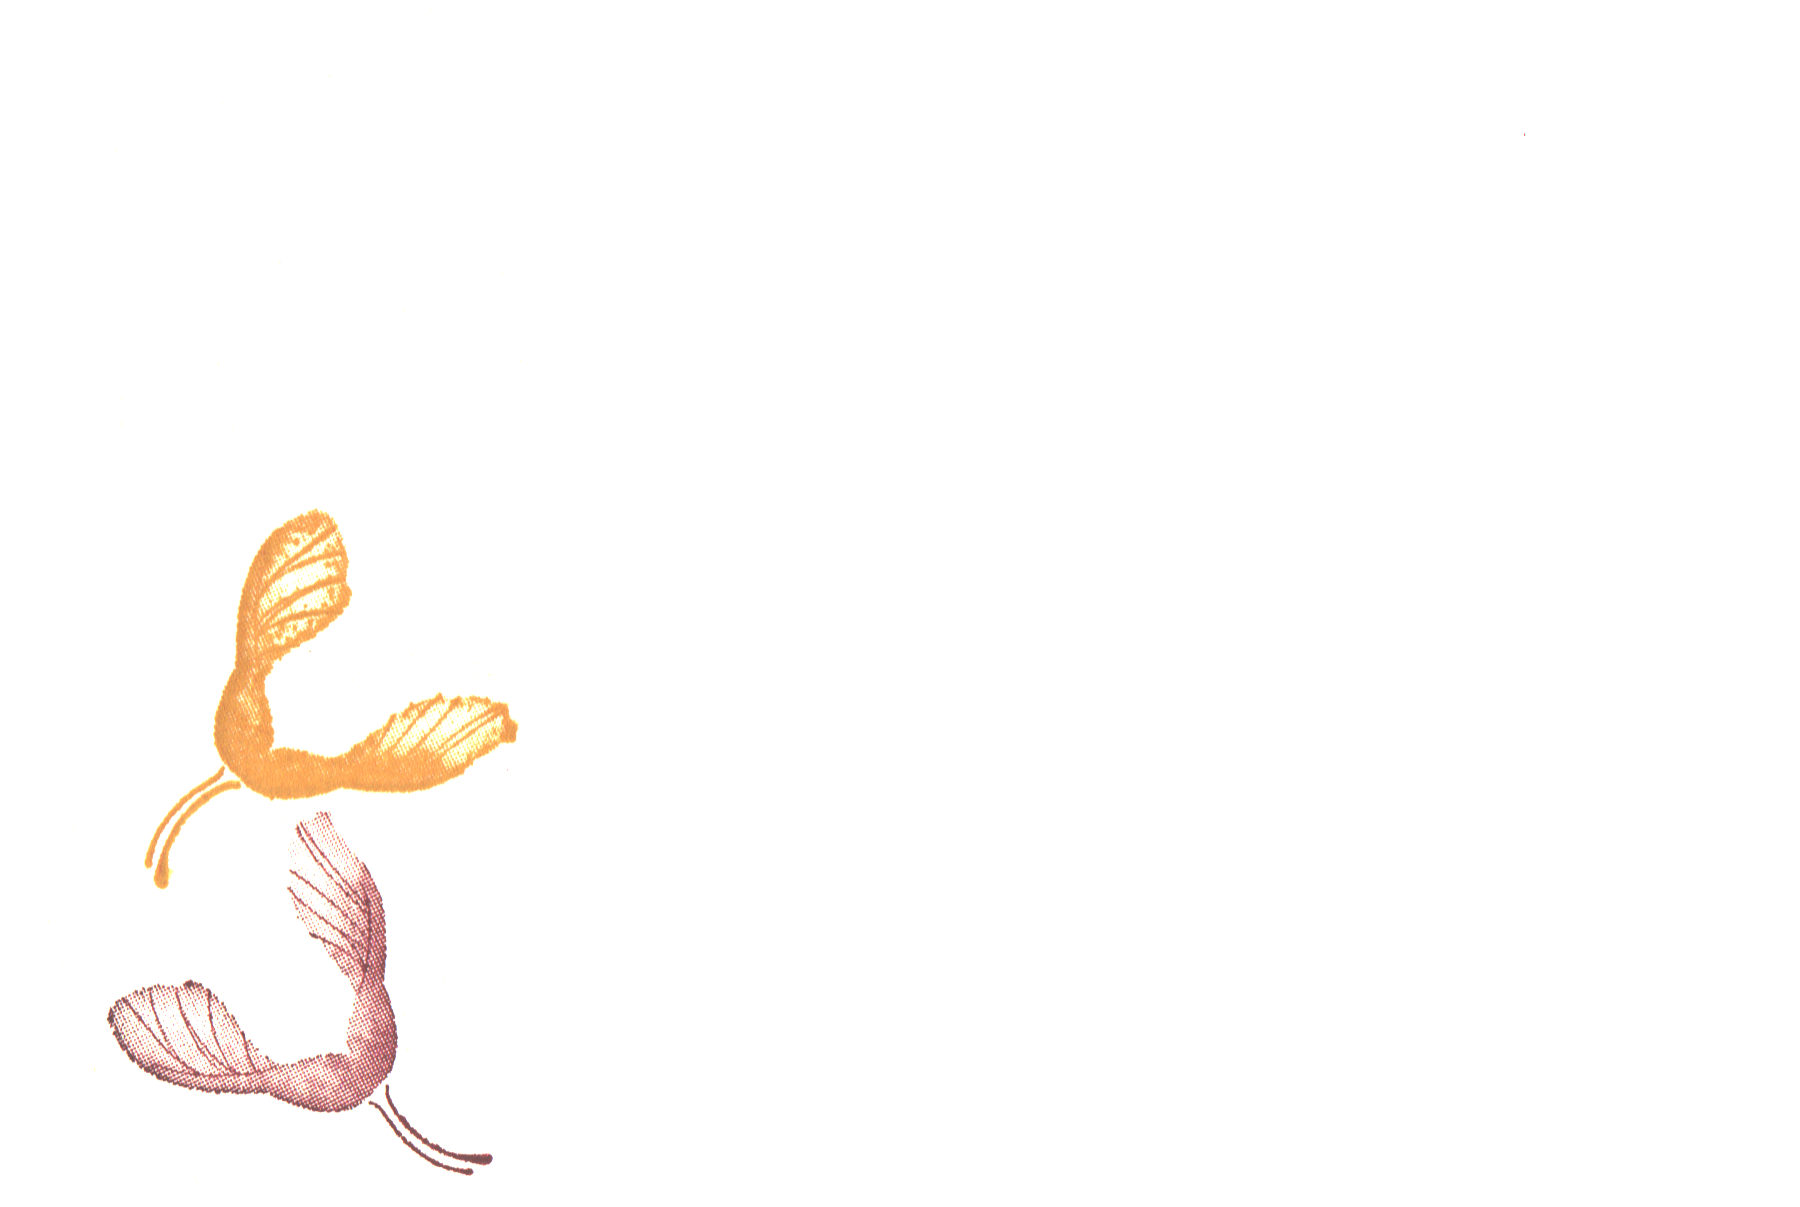
Ranunculus Romance stamp set
Ranunculus Dies
Tailor Made Tags Dies
Deckled Rectangles Dies
Cardstocks: Basic White, Basic Black, Daffodil Delight
Inks: Daffodil Delight, Pear Pizzazz, Smoky Slate, Basic
Gray
Black Bakers Twine
Black & White Gingham Ribbon
Blending Brush
Blender Pen
Sponge Daubers
Stamparatus
Preparations:
8-1/2 x 5-1/2 scored @ 4-1/4 Thick Basic White for card
base
5-1/4 x 4 Basic Black
2 x 4-1/4 Basic Black tag diecut
3/4 x 1-3/4 Basic Black tag die hole reinforcer
5-1/2 x 4-1/4 Daffodil Delight layer to diecut
1 x 1-1/4 Basic White greeting
2 x 4-1/4 Basic White tag diecut
Assemble Card:
Adhere Basic Black layer to card front
Diecut Daffodil Delight with largest Deckled Rectangle
die
Use cardstock stencil and Blending Brush to make two
flowers on Daffodil Delight layer, then adhere to card front.
Place 2 x 4-1/4 white cs in Stamparatus. Ink with
Daffodil Delight, then sponge the leaves with Pear Pizzazz ink. Use
the Blender pen to apply green in small areas.
Stamp text at bottom of tag in Smoky Slate ink.
Diecut tags with the largest fancy top tag die, one in
white and one in black
Diecut circle hole reinforcer from black, and adhere to
white tag.
Insert checked ribbon in holes of both tags and tie
with Bakers' Twine. Offset the black tag so that it shows behind the
left side of stamped white tag, adhere to card front.
Stamp Hello in Daffodil Delight ink and diecut using
the small rectangle die from Ranunculus Dies. Adhere to card front
with Stampin' Dimensionals.
Stamp inside and envelope any way you like, an example
is shown using Smoky Slate, Basic Gray, Pear Pizzazz and Daffodil
Delight inks.
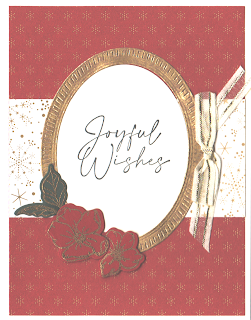
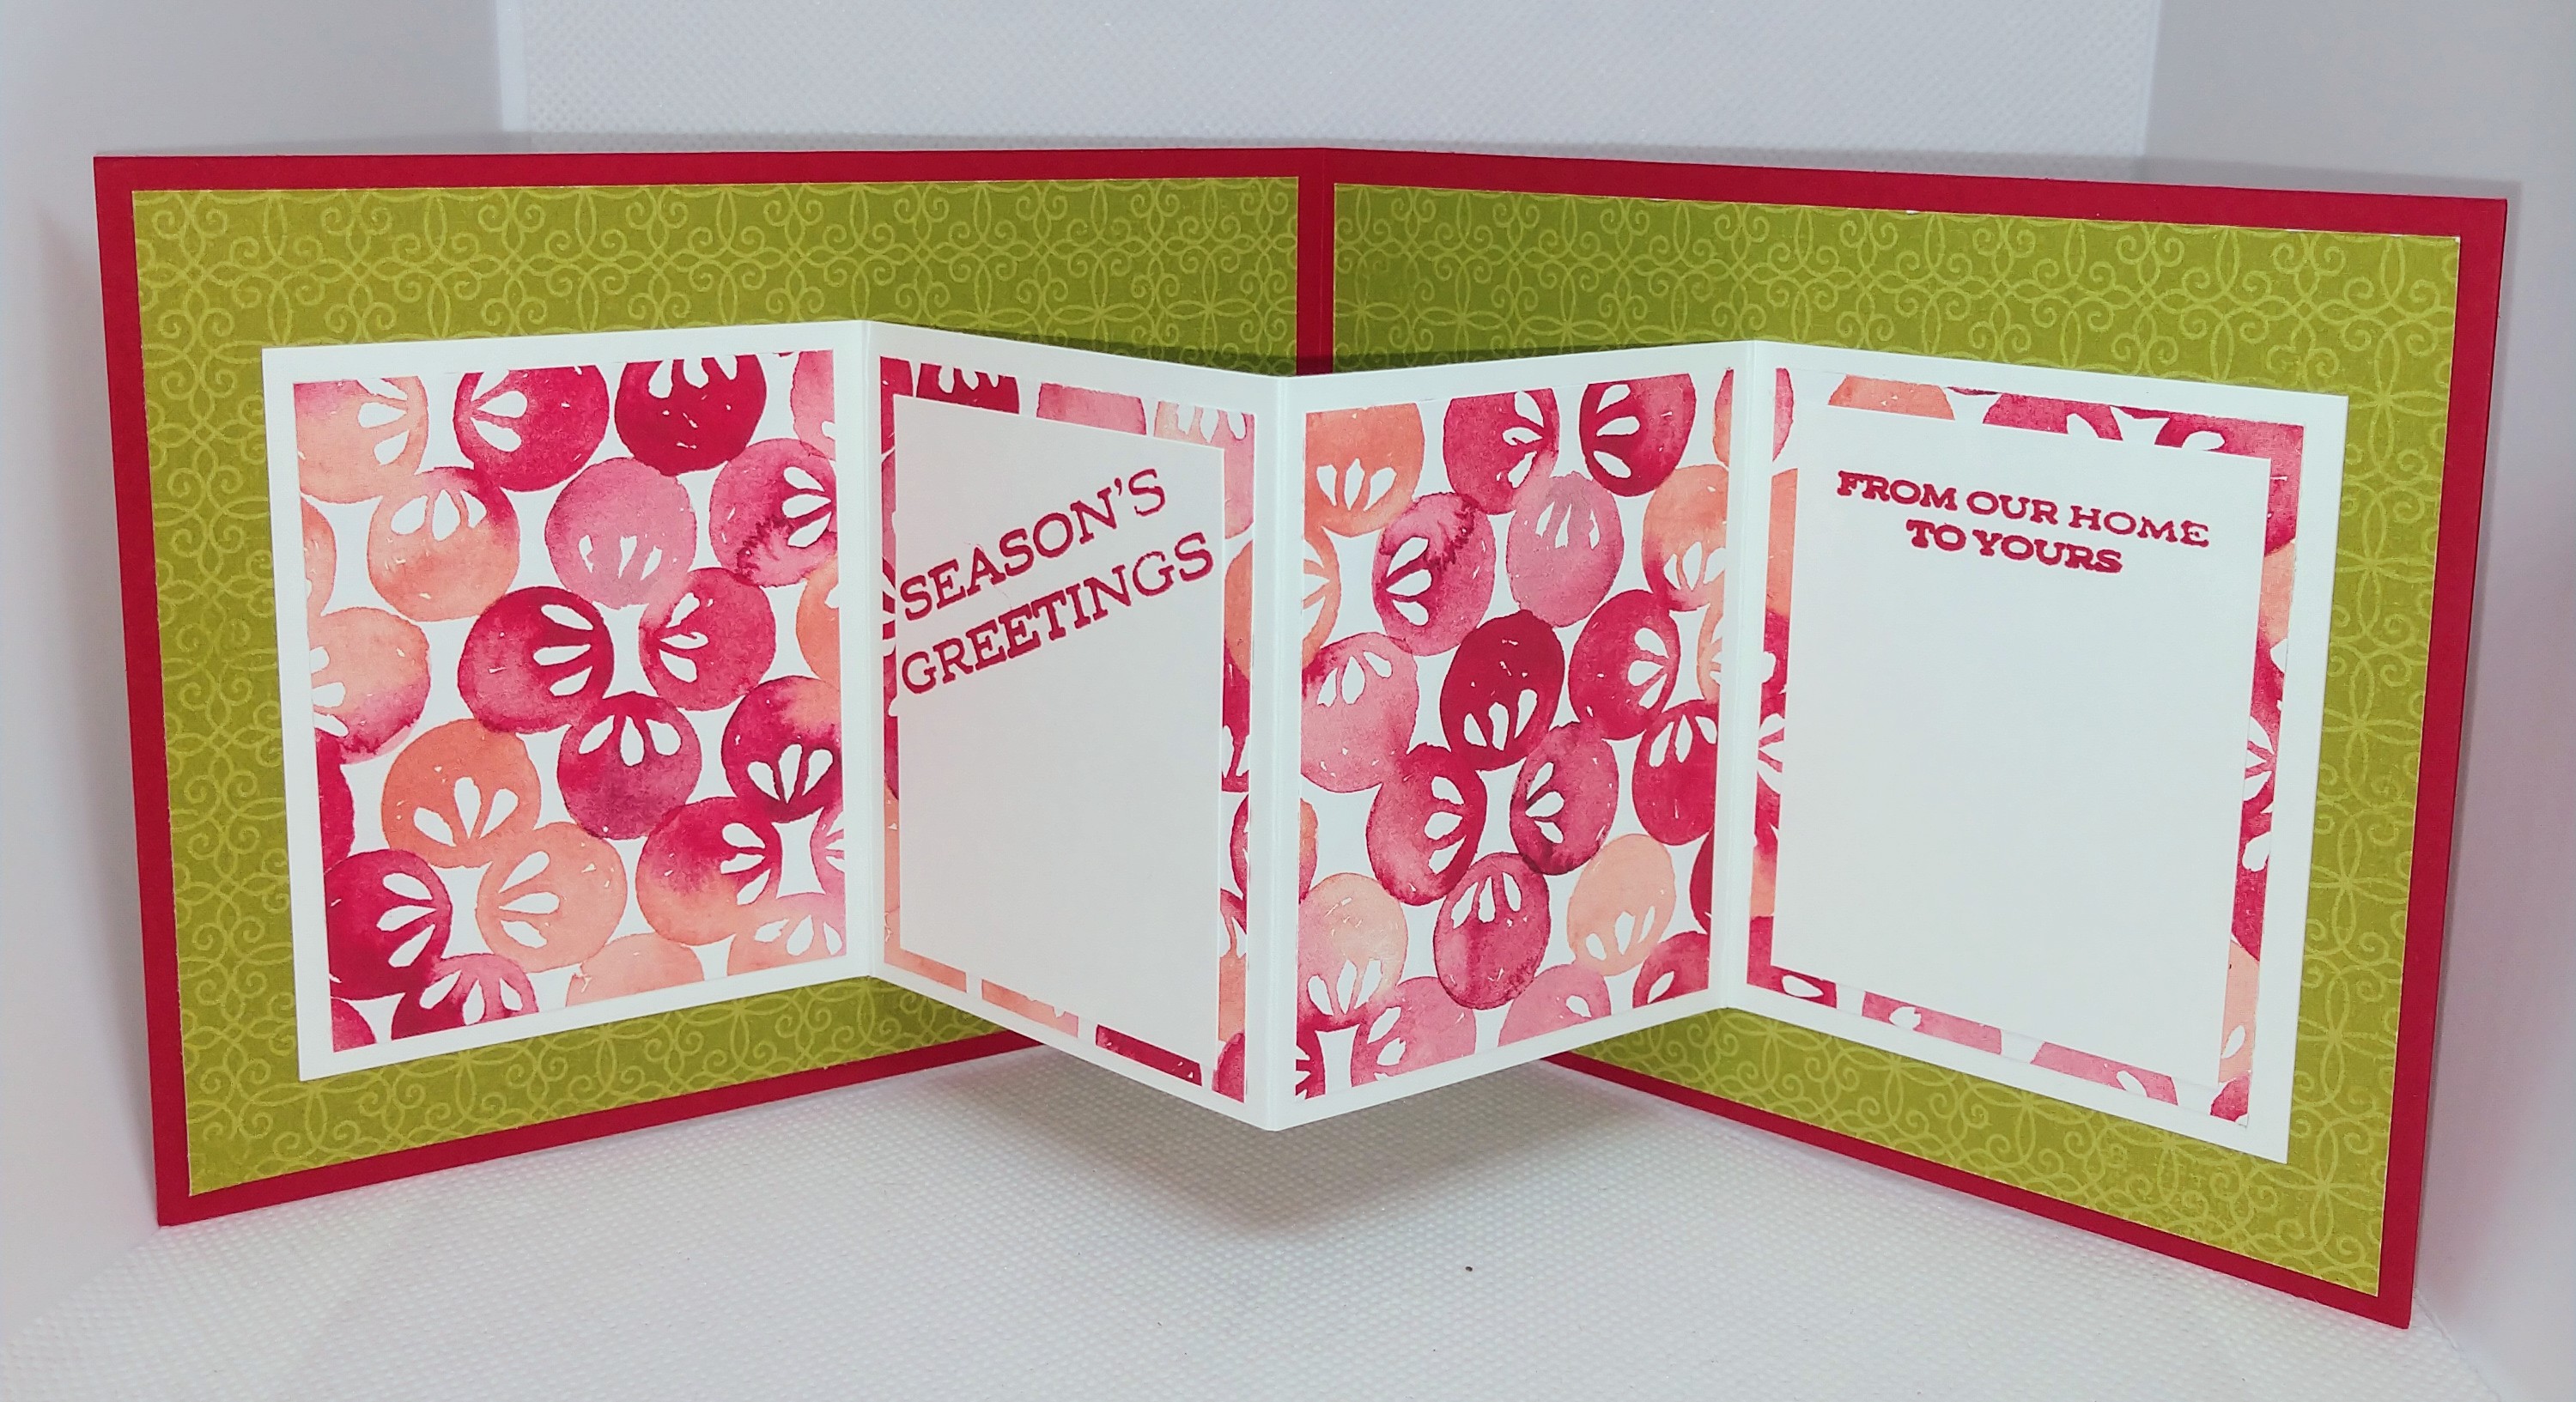
Materials:
Framed Florets stamp set
Joyful Flurry stamp set
Framed Florets Dies
Lights Aglow DSP
Cardstocks: Very Vanilla Thick, Cherry
Cobbler, Evening Evergreen, Distressed Gold
Inks: VersaMark, Memento Tuxedo Black,
Cherry Cobbler
Gold Satin Edged Ribbon
Heat Tool
Gold Emboss Powder
Embossing Additions Took Kit
Red and Green Adhesive Backed Pearls
Preparations:
8-1/2 x 5-1/2 scored @ 4-1/4 Thick Very Vanilla card
base
4 x 5-1/4 DSP layer
1-1/4 x 1-1/2 Evening Evergreen
2 x 4 DSP card front
4 x 5 Very Vanilla large oval diecut
3 x 4 Distressed Gold oval diecut
3 x 4 Very Vanilla oval diecut
1-1/2 x 2-1/2 Cherry Cobbler flowers
Assemble
Card:
Adhere red print DSP to card front
Adhere gold & vanilla DSP in center of previous
layer on card front
Using the Large Oval die, cut one from 3 x 4 Very
Vanilla (use center) and one from 3 x 4 Distressed Gold (use outside
frame piece)
Stamp greeting in Tuxedo Black on the Vanilla oval,
then adhere it on the center of the DSP, with gold frame on the
outside
Stamp one large and one small flower in VersaMark ink
onto 1-1/2 x 2-1/2 Cherry Cobbler cs
Stamp the two leaflet cluster in Versamark ink onto
1-1/4 x 1-1/2 Evening Evergreen cs
Heat emboss the flowers and the leaf cluster with gold
emboss powder, then diecut
Adhere flowers and leaf cluster on one side of the gold
frame
Tie bow and attach with glue dot on the other side of
the gold frame
Attach pearl to center of flowers.
Inside stamp sentiment in Memento Tuxedo Black and
adhere vanilla frame around it. Stamp floral cluster in Cherry
Cobbler. On envelope stamp floral spray in Cherry Cobbler
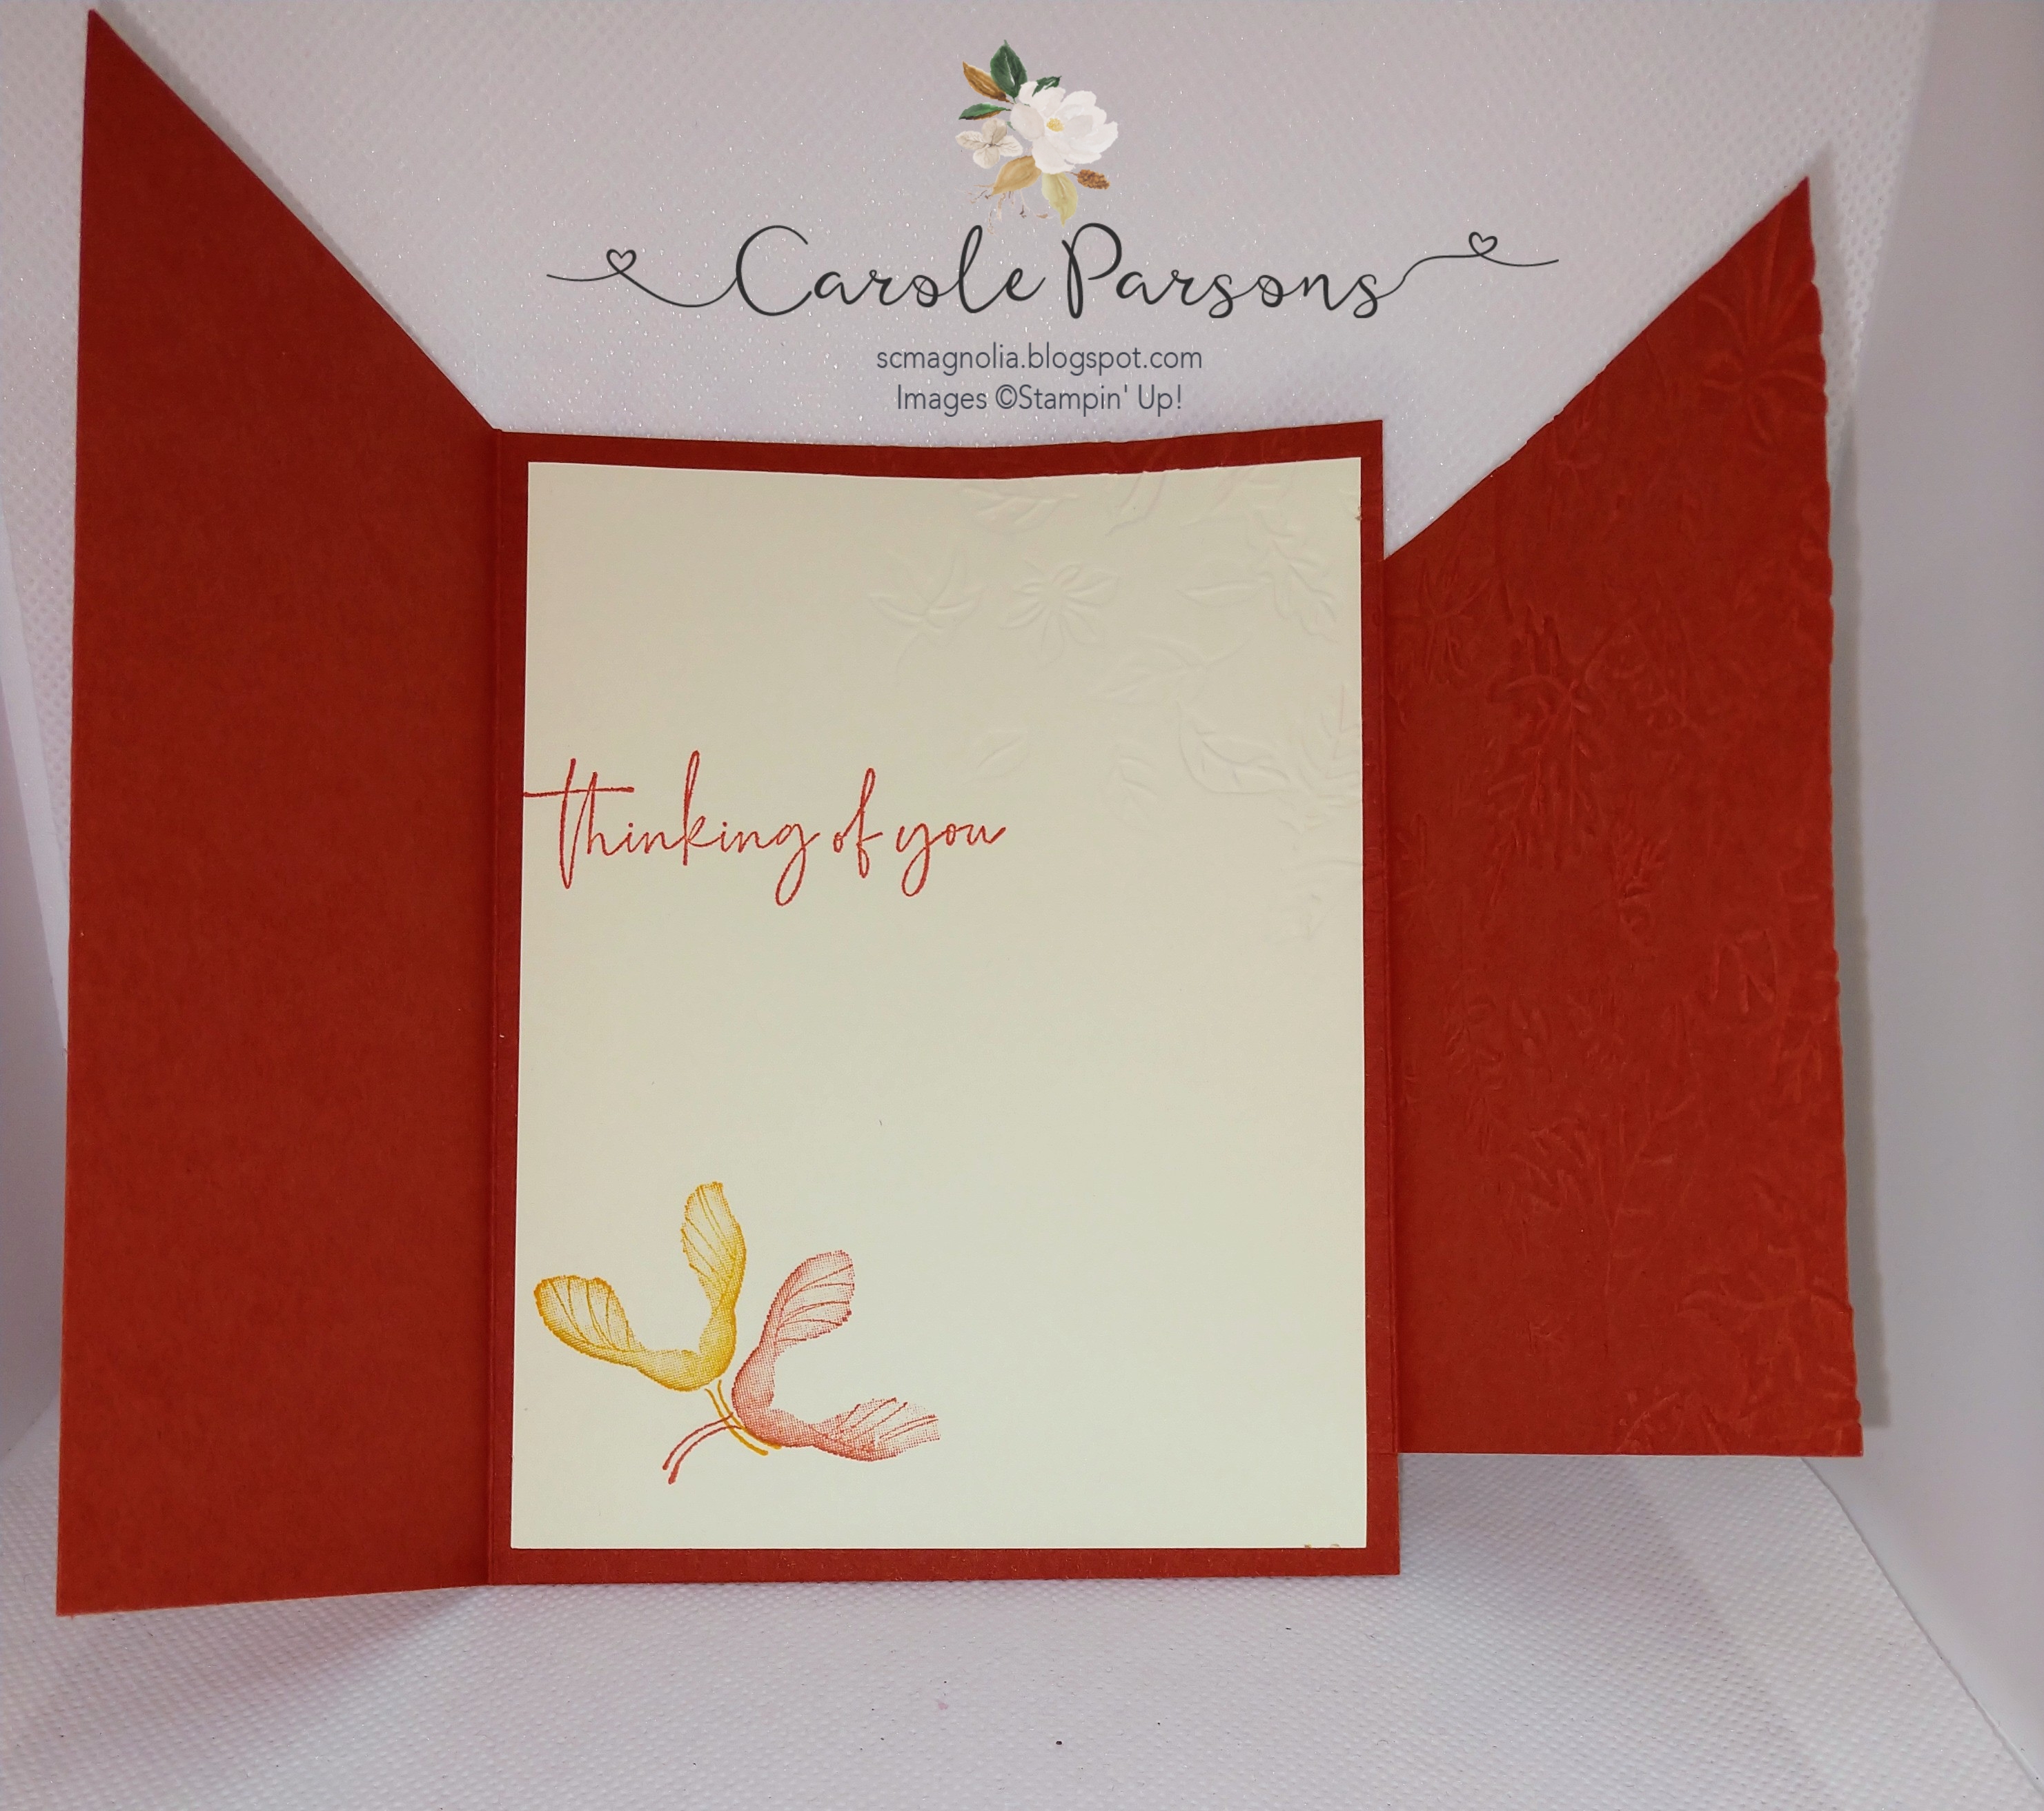
Materials:
Nature's Prints stamp set
Natural Prints Dies
Peaceful Moments stamp set
Quiet Meadow stamp set
Stylish Shapes Dies
Cardstocks:
Basic White
Sun Prints
DSP
Inks: Starry Sky
Fern Embossing Folder
In Color Matte Decorative Dots
Stampin' Dimensionals
Preparations:
Thick Basic White 5-1/2 x 8-1/2 score @ 4-1/4 for
cardbase
Basic White: 4 x 5-1/4 embossed layer
1/2 x 3-3/4 DSP
2-1/2 x 2-1/2 Basic White circle diecut
2-3/4 x 3-3/4 Basic White stamped/dicut fern
Assemble
Card:
Basic White layer 4 x
5-1/4 emboss with fern embossing folder.
Adhere embossed layer
to card base
Stamp fern in Starry
Sky ink on 2-3/4 x 3-3/4 Basic White, then diecut. Attach a couple
dots.
Stamp greeting in
Starry Sky ink on 2-1/2 x 2-1/2 Basic White Dicut, then diecut with
3rd largest circle
Adhere fern to card
front, then layering DSP on top. Adhere greeting circle with
Stampin' Dimensionals.
Inside stamp
sentiment from Quiet Meadow stamp set and small fern.
Envelope – stamp
branch