Project Details
|
|
Stamps
|
Petal Parade
|
Card Stock & Papers
|
Sweet Sorbet dsp, Pistachio Pudding, Whisper White, Crisp
Cantaloupe
|
Ink
|
Pistachio Pudding, Crisp Cantaloupe
|
Accessories
|
Sweet Sorbet Accessory Pack, Antique Brads
|
Tools
|
Scalloped Tag Topper, 1 ¾ Circle, 1 3/8
Circle Punches
|
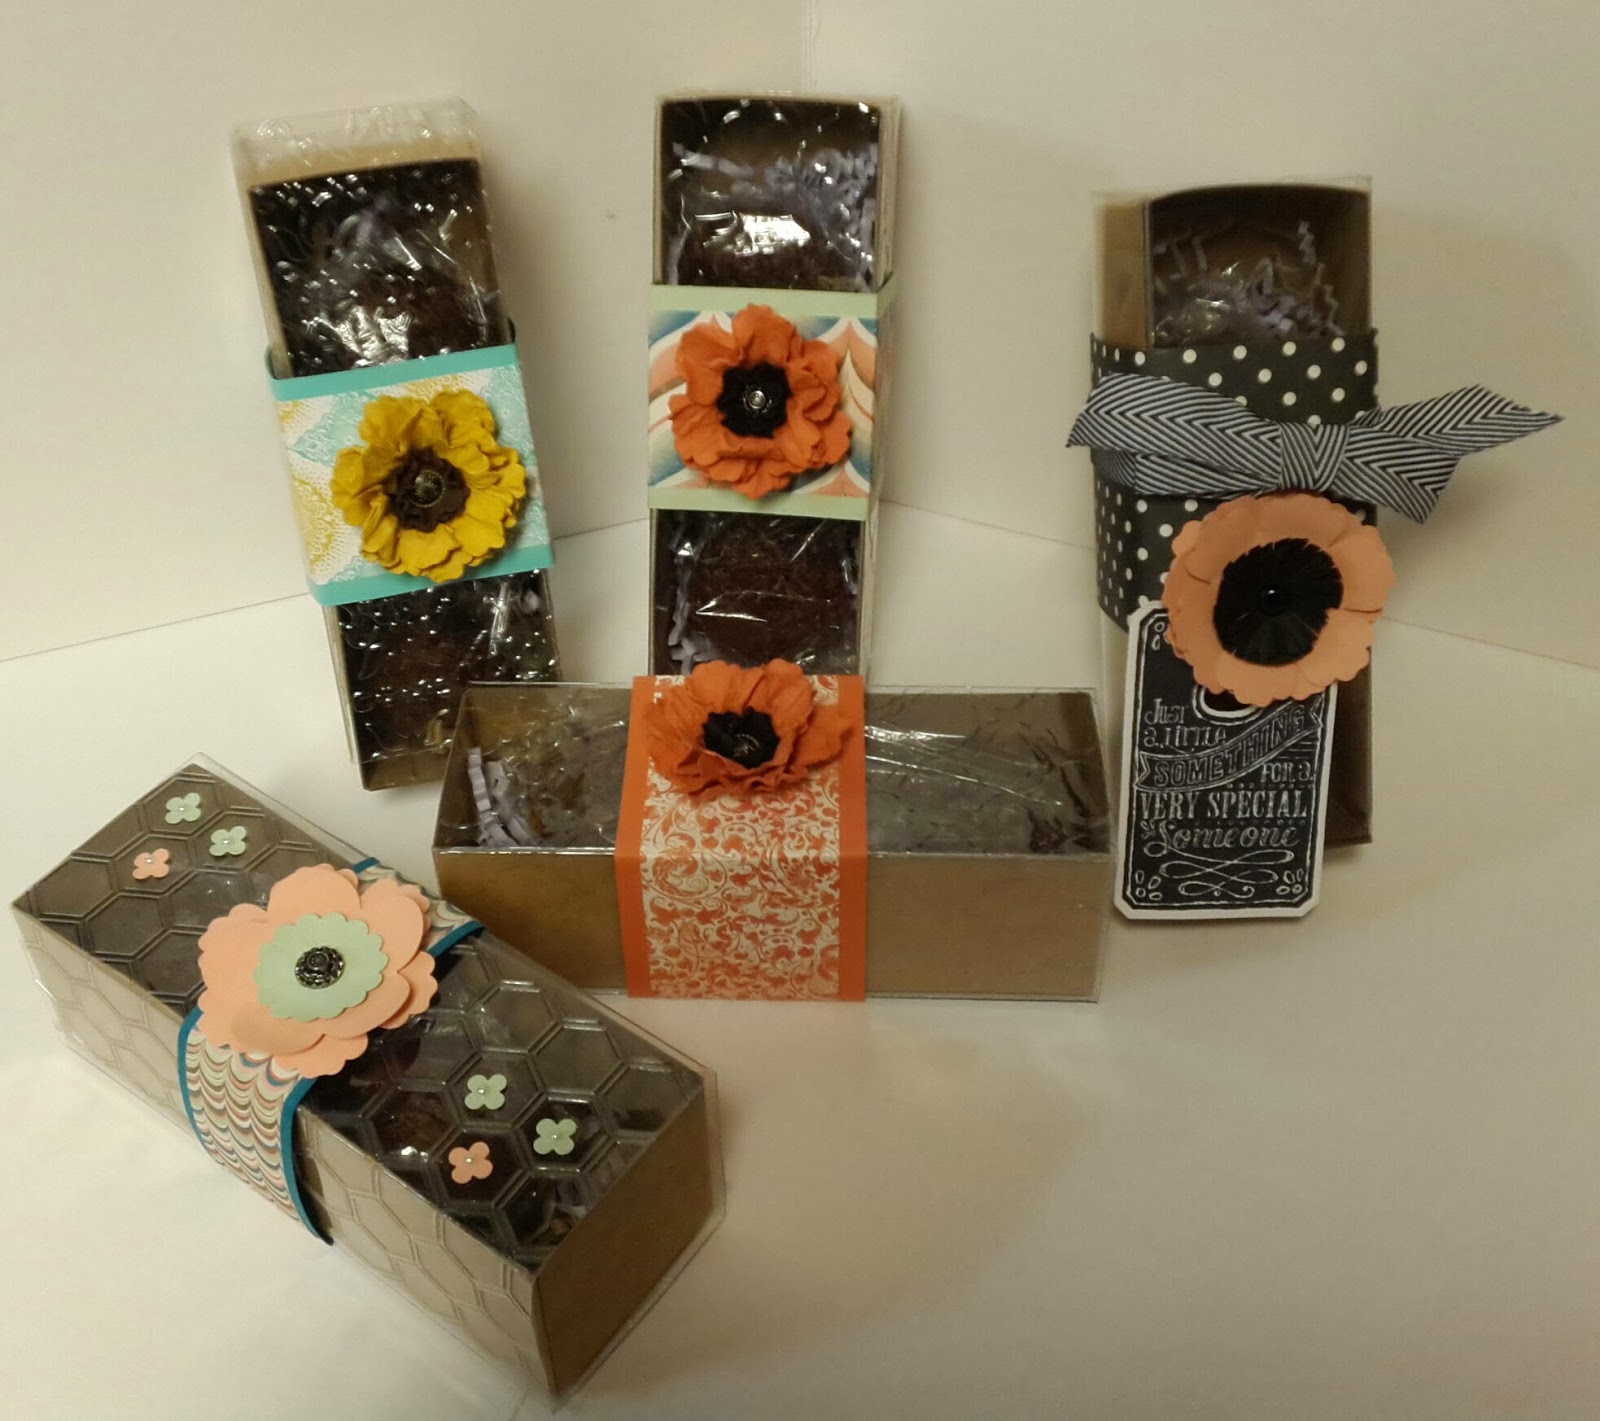
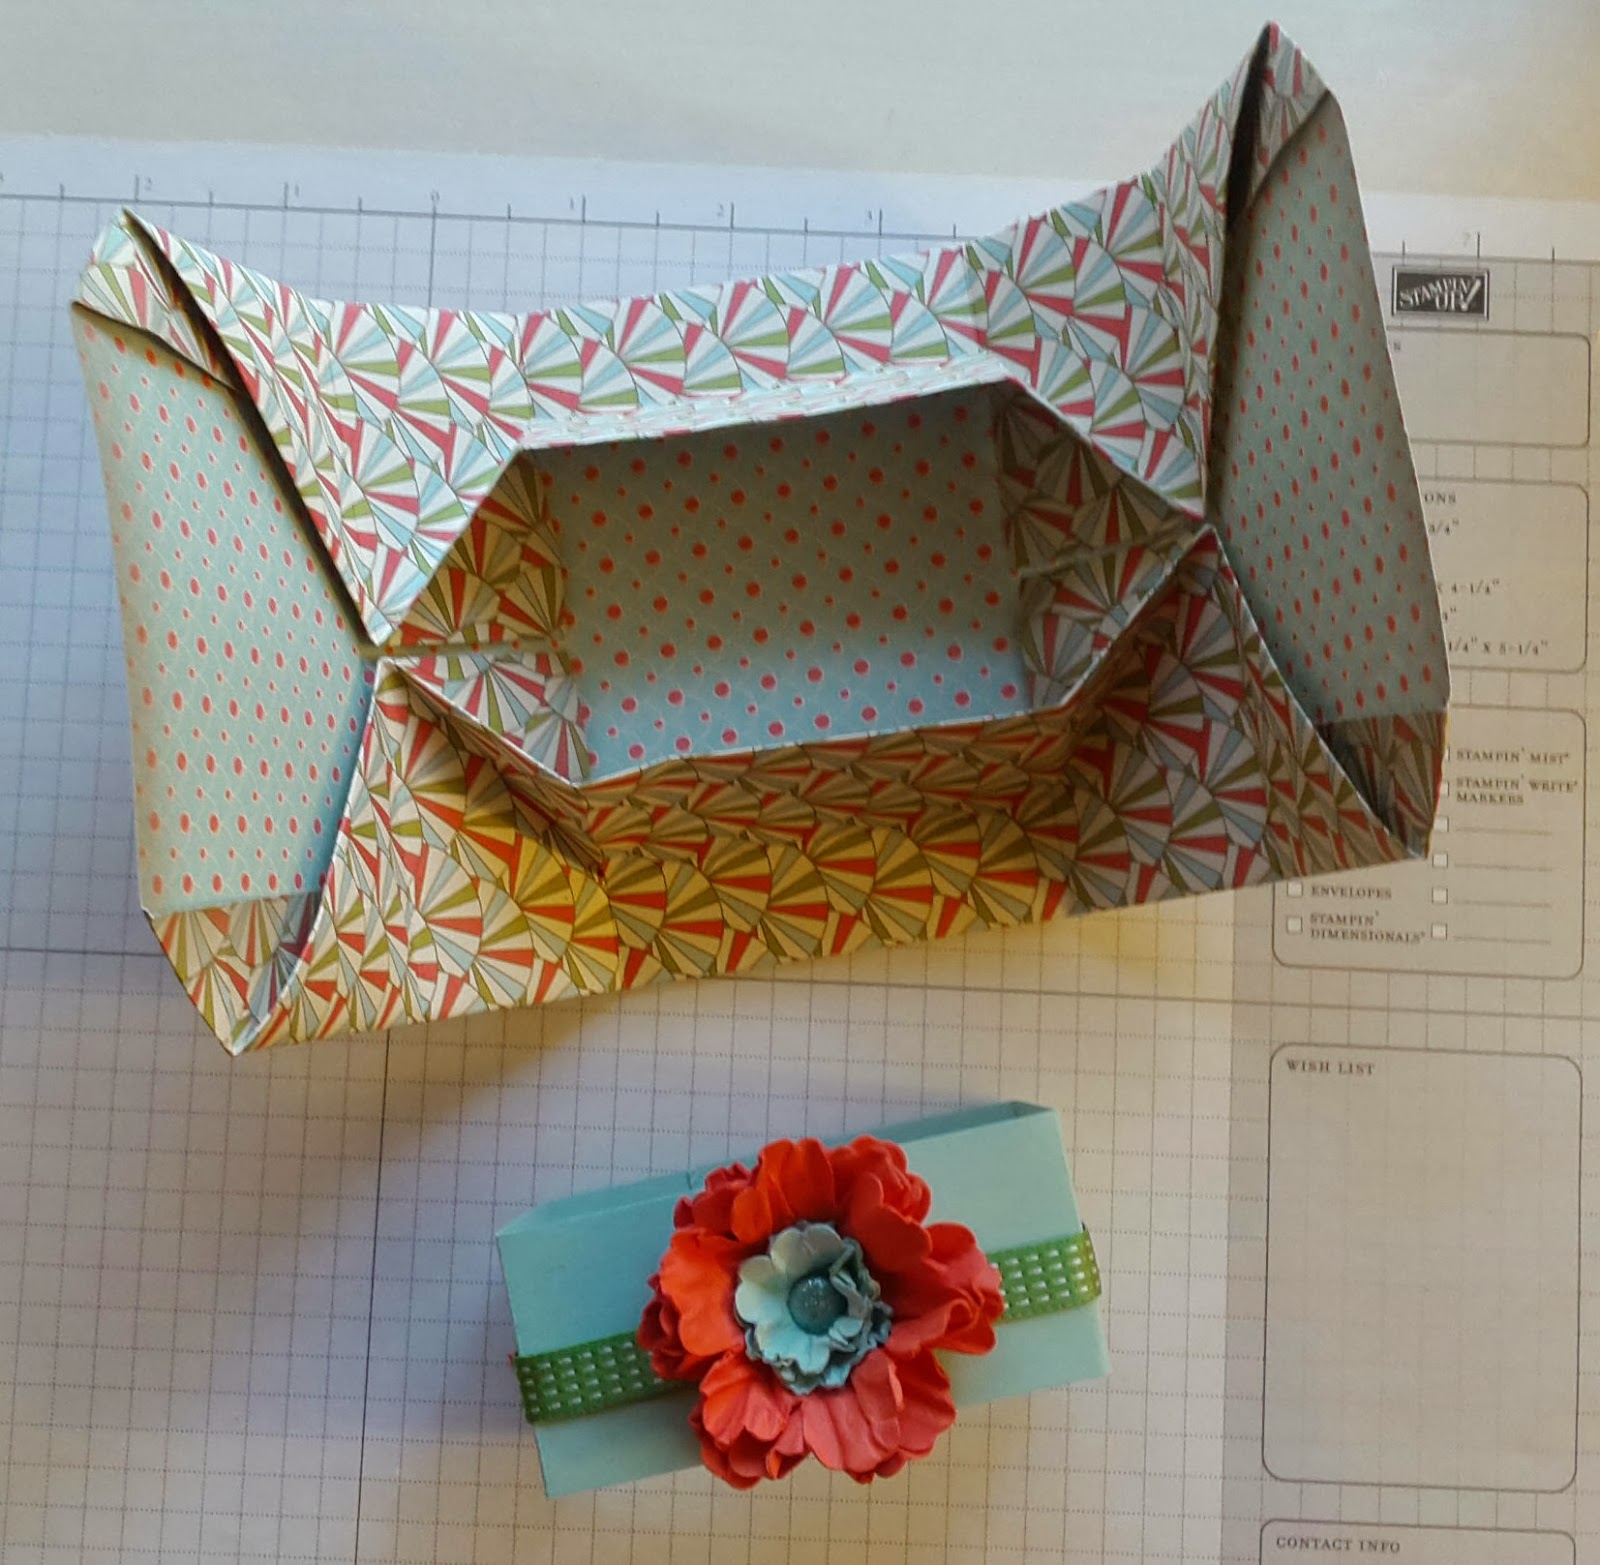
Scrapbook and More Focus: For this challenge, we were to make a calendar, to do list, booklet or journal for a friend to use in 2014. I make this 5 x7 calendar for my BFF every year. I put the pages in a pretty handmade box, and each month she slides the calendar page into a lucite desk frame and she uses it on her desk at work. I make another one for myself that I slide into a magnetic picture frame and keep it on the fridge.

|
Project Details
|
|
|
Stamps
|
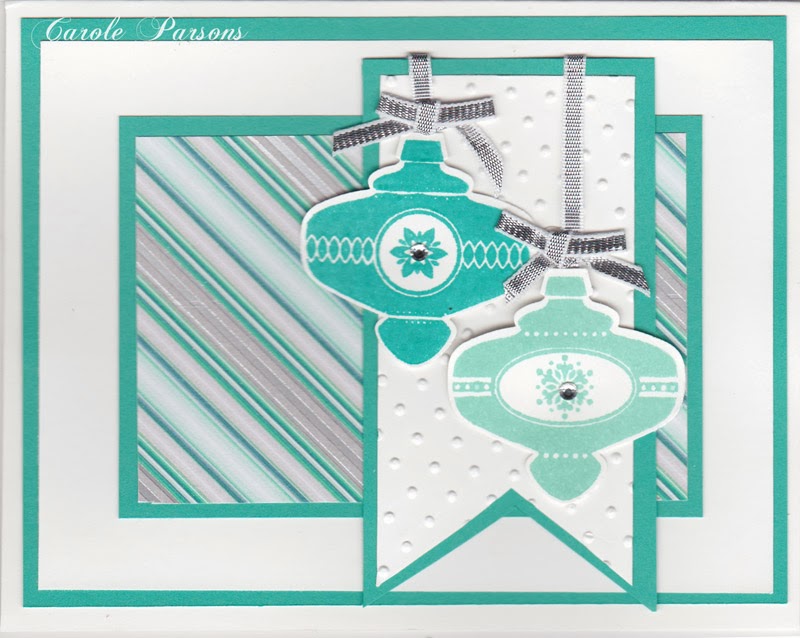
Happy Watercolor
|
|
Card Stock & Papers
|
Whisper White, Pistachio Pudding
|
|
Ink
|
Garden Green, Strawberry Slush, Early Espresso
|
|
Accessories
|
|
|
Tools
|
Banners Framelits, Blender Pen
|