background

Showing posts with label Framed Scenes Bundle. Show all posts

Saturday, July 12, 2025

Watercoloring Framed Scenes


All is right in my world, I'm in my craft room creating like crazy, and the dog is under my desk in her favorite hidey hole. She's the third Australian Sheppherd we've had and they've all been the most wonderful pets! Tesla is super smart, the other day, our UPS man told his trainee that she could read on a 5th grade level lol!
Here is one of my latest cards. I'm currently working on four cards. I'm getting ready for a class on Tuesday, and have another project in the works for a Mystery Stamping Event that I need to film for Monday. I love staying busy!

This card was made using the Framed Scenes bundle. The image was stamped in Black Stazon, and colored with watercolor pencils and a tiny paint brush. Cardstock colors are Basic White, Gray Granite and one layer of Nests of Winter Designer Series Paper. Another layer was dry embossed with the Exposed Brick Embossing Folder. The leaves were diecut with Beautiful Motifs dies. I stamped the first layer of Gray Granite, with the Elements of Texts stamp set.

Wednesday, July 2, 2025

Framing Lighthouse

 I'm not sure what to call this fold, I saw a similar card done by Jilli Bling, but I kinda did my own weird fold on the inside. It started out as a Z fold, then I wasn't happy with that. I needed more panels to show off the scene in the Designer Series Paper, and I wanted the front to be a full 4-1/4" x 5-1/2."  So I just  kept playing around until I got the paper folding to do what I wanted it to do lol! I guess we could call this an M Fold. 


DSP = Designer Series Paper
  • Card Base Secret Sea 5-1/2 x 8-1/2 scored @ 1," 2-1/8," and 4-1/4." With a front panel measuring 4-1/4" x 5-1/2" glued to the 1" section
  • Card front mats: Cloud Cover 4" x 5-1/4" and  DSP 3-3/4" x 5"
  • Diecut frame in Secret Sea, large oval in Secret Sea and small oval in Cloud Cover
  • Watercolor paper and watercolor pencils for lighthouse
  • Inside small panel Cloud Cover 1-13/16" and  DSP 1-9/16"
  • Inside medium panel Cloud Cover 1-13/16" x 5-1/4" and  DSP 9/16" x 5"
  • Inhside large panel Cloud Cover 4 x 5-1/4" and Basic White 3-3/4" x 5" and DSP 1-1/2" x 5"

Shop in My Online Store: https://www.stampinup.com/?demoid=2109078

Products Used:

  • Watercolor Pencils [161700]
  • Framed Scenes Bundle [165397]
  • Cloud Cover Cardstock [165621]
  • Secret Sea Cardstock [165624]
  • Basic White Cardstock [166780]
  • Beautiful Gallery DSP [165196]
  • Secret Sea Ink Pad [165285]
  • Cloud Cover Refill Ink [165279]
  • Uninked Stampin' Spots [141822]

Sunday, June 29, 2025

Framed Scenes

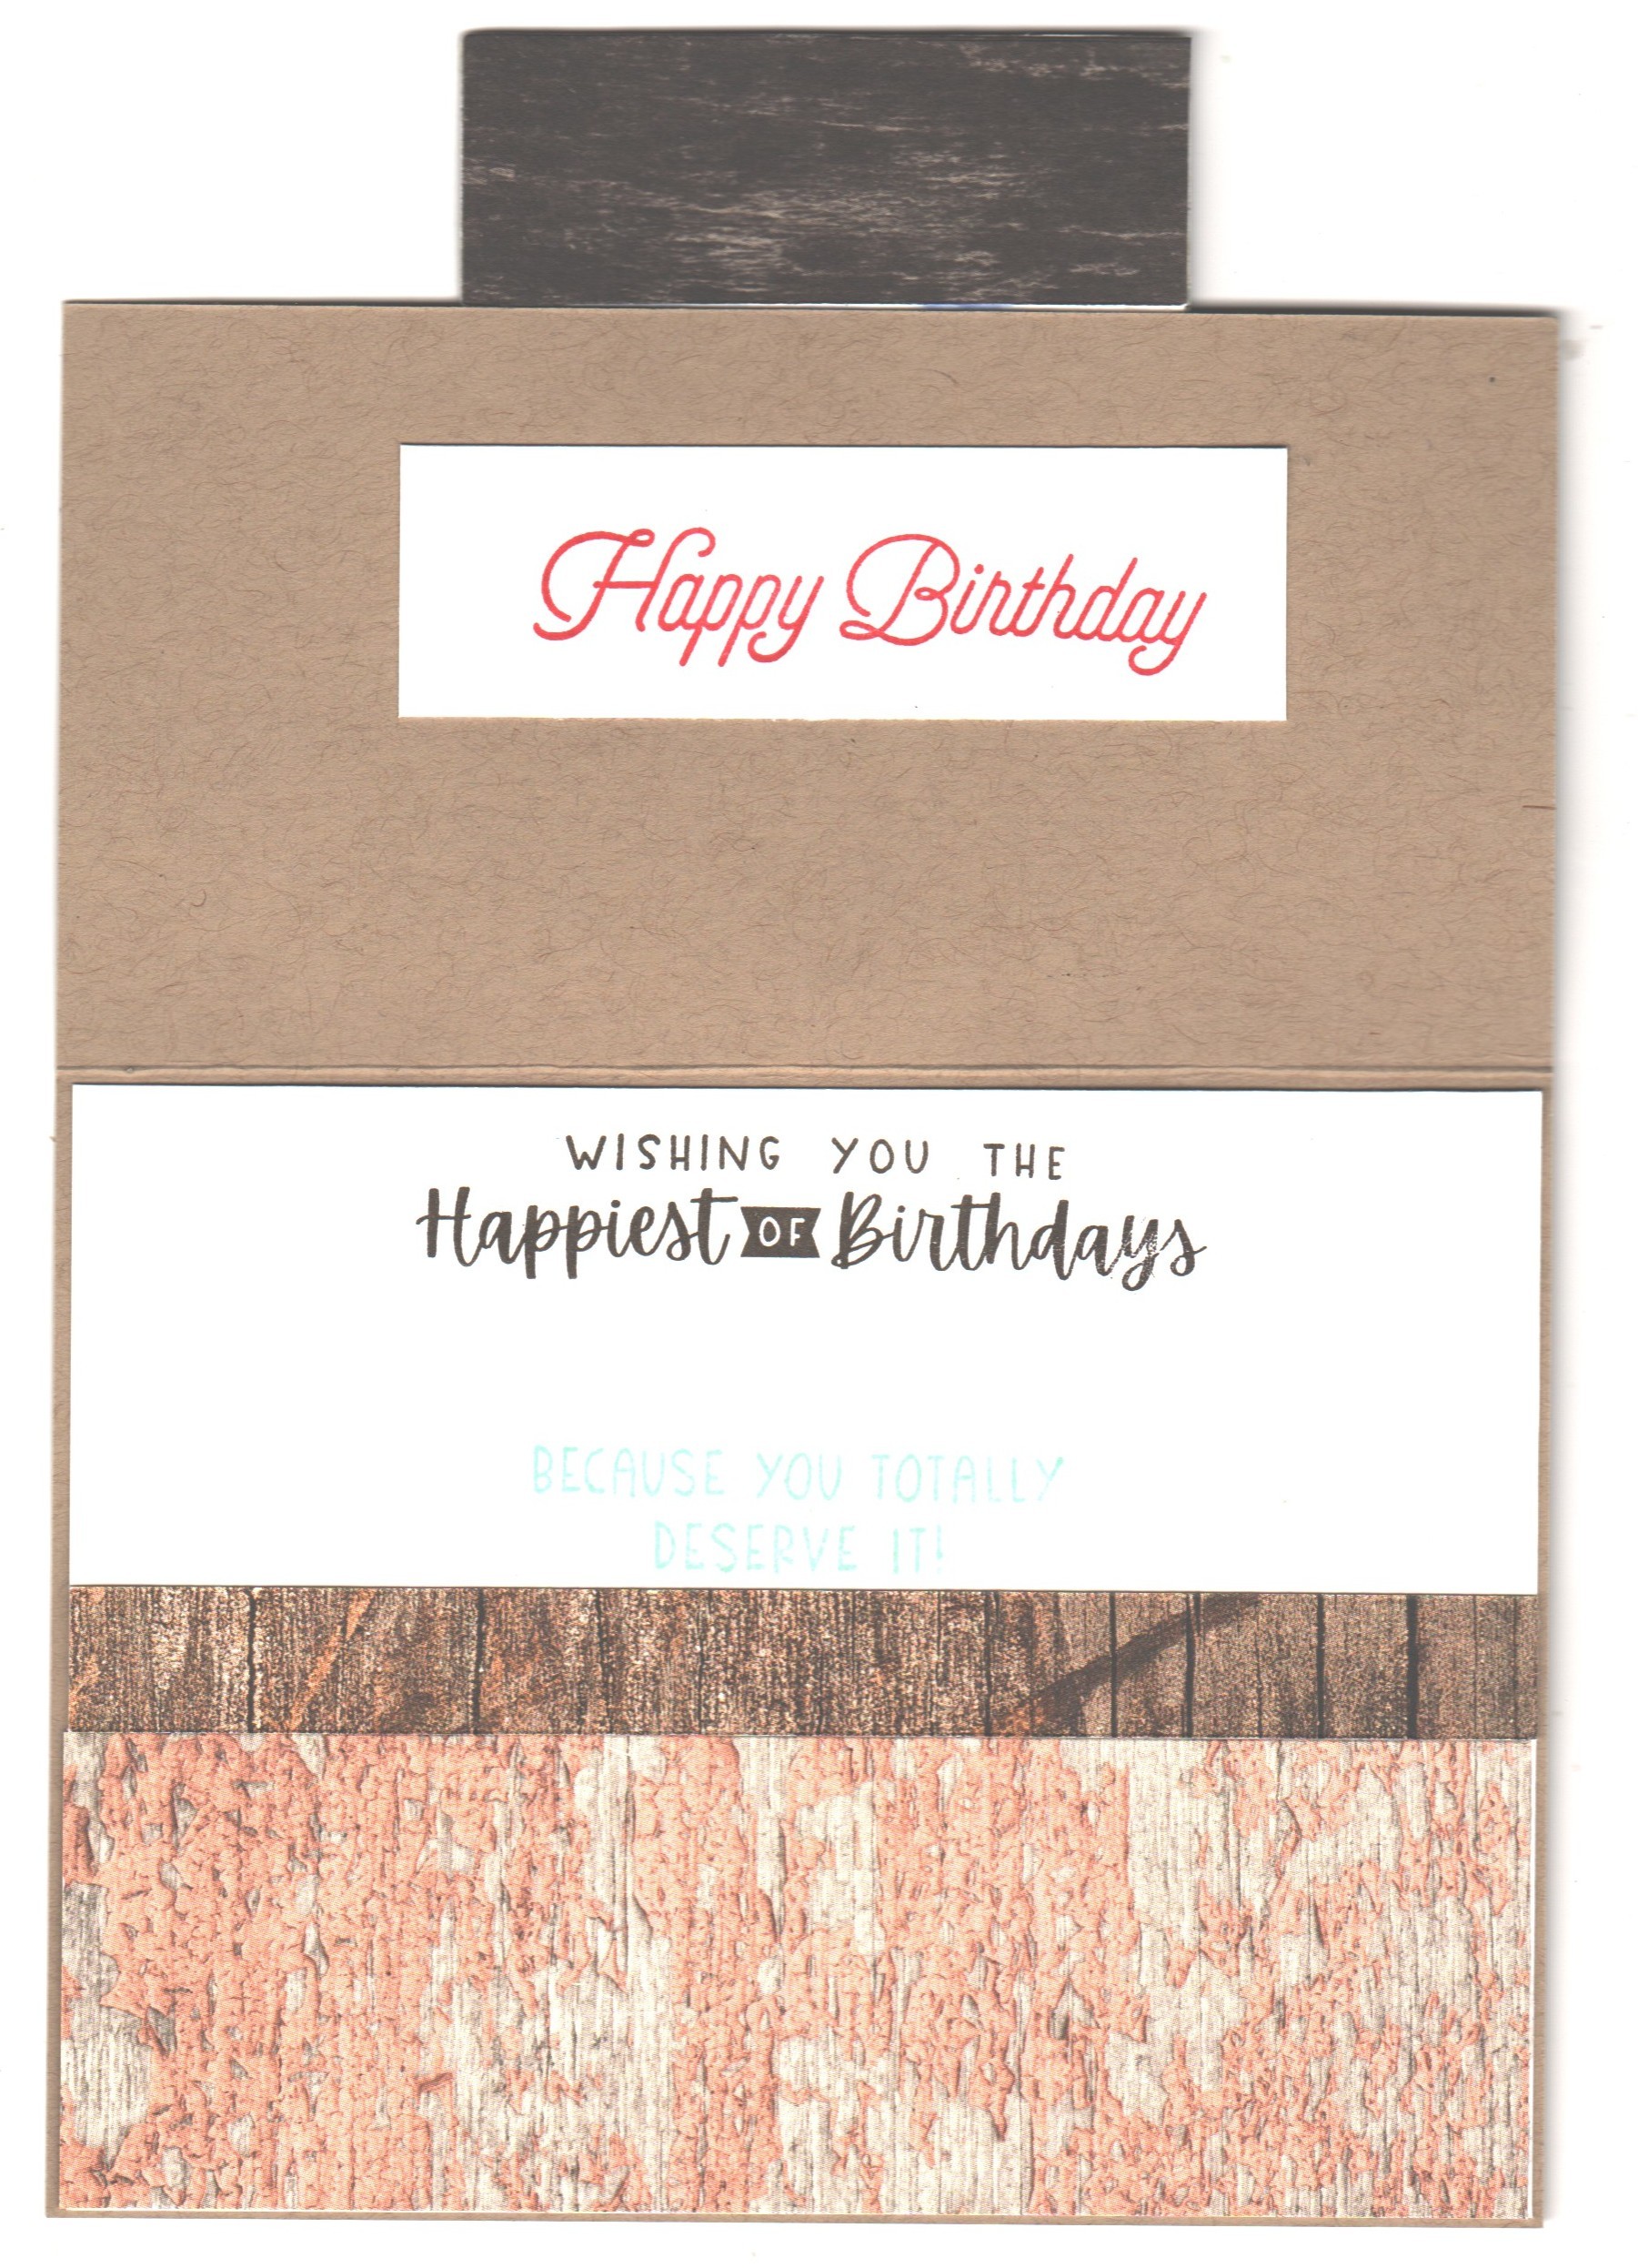
 This is such a fun bundle to create with! The Framed Scenes Bundle is an Online Exclusive (I've listed all the products used below). This fold is really easy and yet it looks pretty cool! The Country Woods Designer Series Paper (DSP) really add to the feel of an old lighthouse. We have an old lighthouse in Beaufort, SC. It's not red, but it's fun to climb up to the top and look at the ocean and barrier islands.      My inspiration for these cards came from Julie Gilson and Dani Gurrola, two very talented ladies! 

The second card features the same fold, only rotated to a portrait position. I used the most gorgeous plaid of Misty Moonlight and Mossy Meadow. I ADORE blue and green combos!! Funny story about the framed sentiments... I matted the Happy Birthday greeting because it needed something since it was on the back of that panel, a little umph. Then with the sentiment, I must admit, I wasn't clever enough to do that on my own in order to create a cohesive look. Nope, I just made a stamping goof! lol Since it eas already adhered to the card base, I couldn't flip it over and do the other side. Yeah, do as I say, not as I do. Don't ever adhere your layer then stamp. {slaps self upside the head}


Measurements

Crumb Cake base- 8-1/2" x 5-1/2" score at 4-1/4" fold, cut off 1-1/2"

Country Woods DSP

  • Pool Party pattern 5-3/8" x 2-5/8" (for top card front)

  • 1-3/4" x 5-3/8" (for inside)

  • Early Espresso pattern 3" x 3-1/4" (for frame diecut)

  • 1/4" x 5-3/8" for inside strip between white and DSP

Basic White

  • 2-1/2" x 3-1/8" (for stamped image on card front)

  • 5-3/8" x 4-1/8" (for inside)

Click Here to Shop With Me At My Online Store
Framed Scenes Bundle [165397] 
Country Woods DSP [163393] 
Basic White Cardstock [166780] 
Crumb Cake Cardstock [120953] 
Old Olive Ink Pad [147090]
Early Espresso Ink Pad [147114]
Real Red Ink Pad [103287]
Linen Thread [104199]
Stampin' Blends:
  • Azure Afternoon [161672]
  • Old Olive [154892]
  • Real Red [154899]
  • Smoky Slate [154904]

The oval stamped image is popped up with Stampin' Dimensionals.


Mossy Meadow Card Base 8-1/2" x 5-1/2" score at 4-1/4" fold cut off 2-1/8"

Misty Moonlight

  • 2" x 5-3/8" (mat for DSP on front)

  • 4-1/8" x 5-3/8" (mat on inside)

Timeless Plaid DSP

  • 1-7/8" x 5-1/4" (for side of card front)

  • scrap 5-1/4" strip any width desired for inside

Basic Beige

  • 4" x 5-1/4" (inside)

  • 2" x 2-3/4" (oval diecut on front)

  • 2-3/8" x 3" (rectangle diecut on front)

Early Espresso 3" x 3-3/4" (for frame diecut)

Click Here to Shop With Me At My Online Store

Framed Scenes Bundle [165397] 

Timeless Plaid Designer Series Paper [164678]

Basic White Cardstock [166780] 

Mossy Meadow Cardstock [133676]

Misty Moonlight Cardstock [153081]

Early Espresso Cardstock [119686]

Basic Beige Cardstock [164511]

Misty Moonlight Inkpad [153118]

Mossy Meadow Inkpad [147111 ]

Early Espresso Inkpad [147114]

Various Stampin' Blends Markers