Here is the tutorial for the Lattice Technique. I love this technique! Thanks to BiBi Cameron who developed this technique. There are written directions below and a video tutorial as well.

Materials:
Stamps: Pansy Patch stamp set
Paper: Basic White, Thick Basic White
Ink: Melon Mambo
Tools: Pansy Dies, Washi Tape or other low tack tape
Preparation:
Thick Basic White 4-1/4 x 5-1/2 card base
Basic White 4-1/4 x 5-1/2
Basic White 8-1/2 x 1/2 six strips
Assemble Card:
Dry fit first before gluing. Place one strip with the edge on the corner of the upper right of the 4-1/4 x 5-1/2 Basic White piece in a diagonal direction. Place the next strip with a gap in between the strips approximatly 1/2 inch-ish. The last strip should touch the bottom right corner. Adjust strips as needed, leaving ends out beyond the top and bottom of the 4-1/4 x 5-1/2 cs.
Hold the strips in place with a clear block, then use washi tape or low tack tape to hold the strips in place. Then run adhesive across the back of the 4-1/4 x 5-1/2 cs. Fold the top strips back behind the large piece of cs and secure in place. Trim of any excess.
Repeat step three using the remaining strips on the right hand side.
Once all six strips are secured in place, trim the bottom pieces so they are flush with the bottom the larger cs.
Adhere the 4-1/4 x 5-1/2 with the strips to a 4-1/4 x 5-1/2 THICK Basic White cs.
Stamp and diecut for embellishment as desired.


Hidden Pop Up


|
Stamps |
Pansy Patch |
|
Card Stock |
Thick Basic White, Soft Succulent, Basic White, Daffodil Delight, Pansy Petals DSP |
|
Ink |
Soft Succulent, Gorgeous Grape, Freesia, Pale Papaya, |
|
Embellishments |
Freesia Open Weave Ribbon |
|
Tools |
Pansy Dies, Hole Punch |
(All measurements in inches)
Thick Basic White Card Base:
5-1/4 x 9-5/8
long side across the top score @ 5-1/2 and 5-5/8
short side across the top score @ 3/8 and 1/2
rotate 180° then score the same way on the other side
trim off corners at the top


Score lines are shown in red dashes, the blue slashed lines indicate where you are to cut away. Notice the corners at the top are cut away as well. Reinforce all score lines with bone folder
Soft Succulent:
3-3/4 x 3-3/4 for front of card
3-3/4 x 4-1/4 score @ 1/2” on long side
3-3/4 x 5-1/2 score @ 1/2” on long side
mechanism to allow for pop up:
1-1/2 x 3-1/4 score @ 7/16, 1/2, 1”. In photo below the score lines are highlighted in blue pencil

rotate 180º and score @ 1/2.” In photo above the score lines are highlighted in blue pencil
on score board, score at eight inch intervals between the 1/2” score line on one end and the third score line on the other as shown in the photo above.
Designer Series Paper:
3-1/2 x 3-1/2 cut two
2-1/4 x 5-1/2 envelope flap
Basic White cardstock:
cut two panels from Nature's Thoughts die 3-1/4 x 4-3/4
Diecuts etc:
window sheet 1/2 x 4-3/4
Basic White: two pansies, four petals, and one bell flower-both pieces

Gorgeous Grape: 1 x 1 one center beard

Fresh Freesia: 2-1/4 x 5-1/2 one pansy, two petals and two center beards

Daffodil Delight: 1-1/4 x 3/4 yellow centers

Soft Succulent: 4-3/4 x 2-1/4 one stem, two small and three large leaves
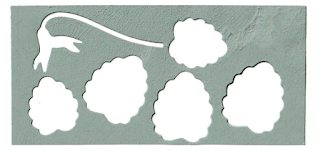
ALL PIECES NEEDED:

Pansies are no longer blooming here in Carolina. They are a winter and spring flower for us. Thankfully, I can have pretty pansies to look at any time I like with the Pansy Patch bundle. On this card I used the border dies to create an interesting edge. The coordinating DSP and ribbon add such a nice touch.


I learned of this fun fold from a fellow Demo in the UK, Claire Ottaway. It's a great card to use with our double-sided designer series paper. Here is a FREE PDF file of the tutorial with diagrams.


Product List

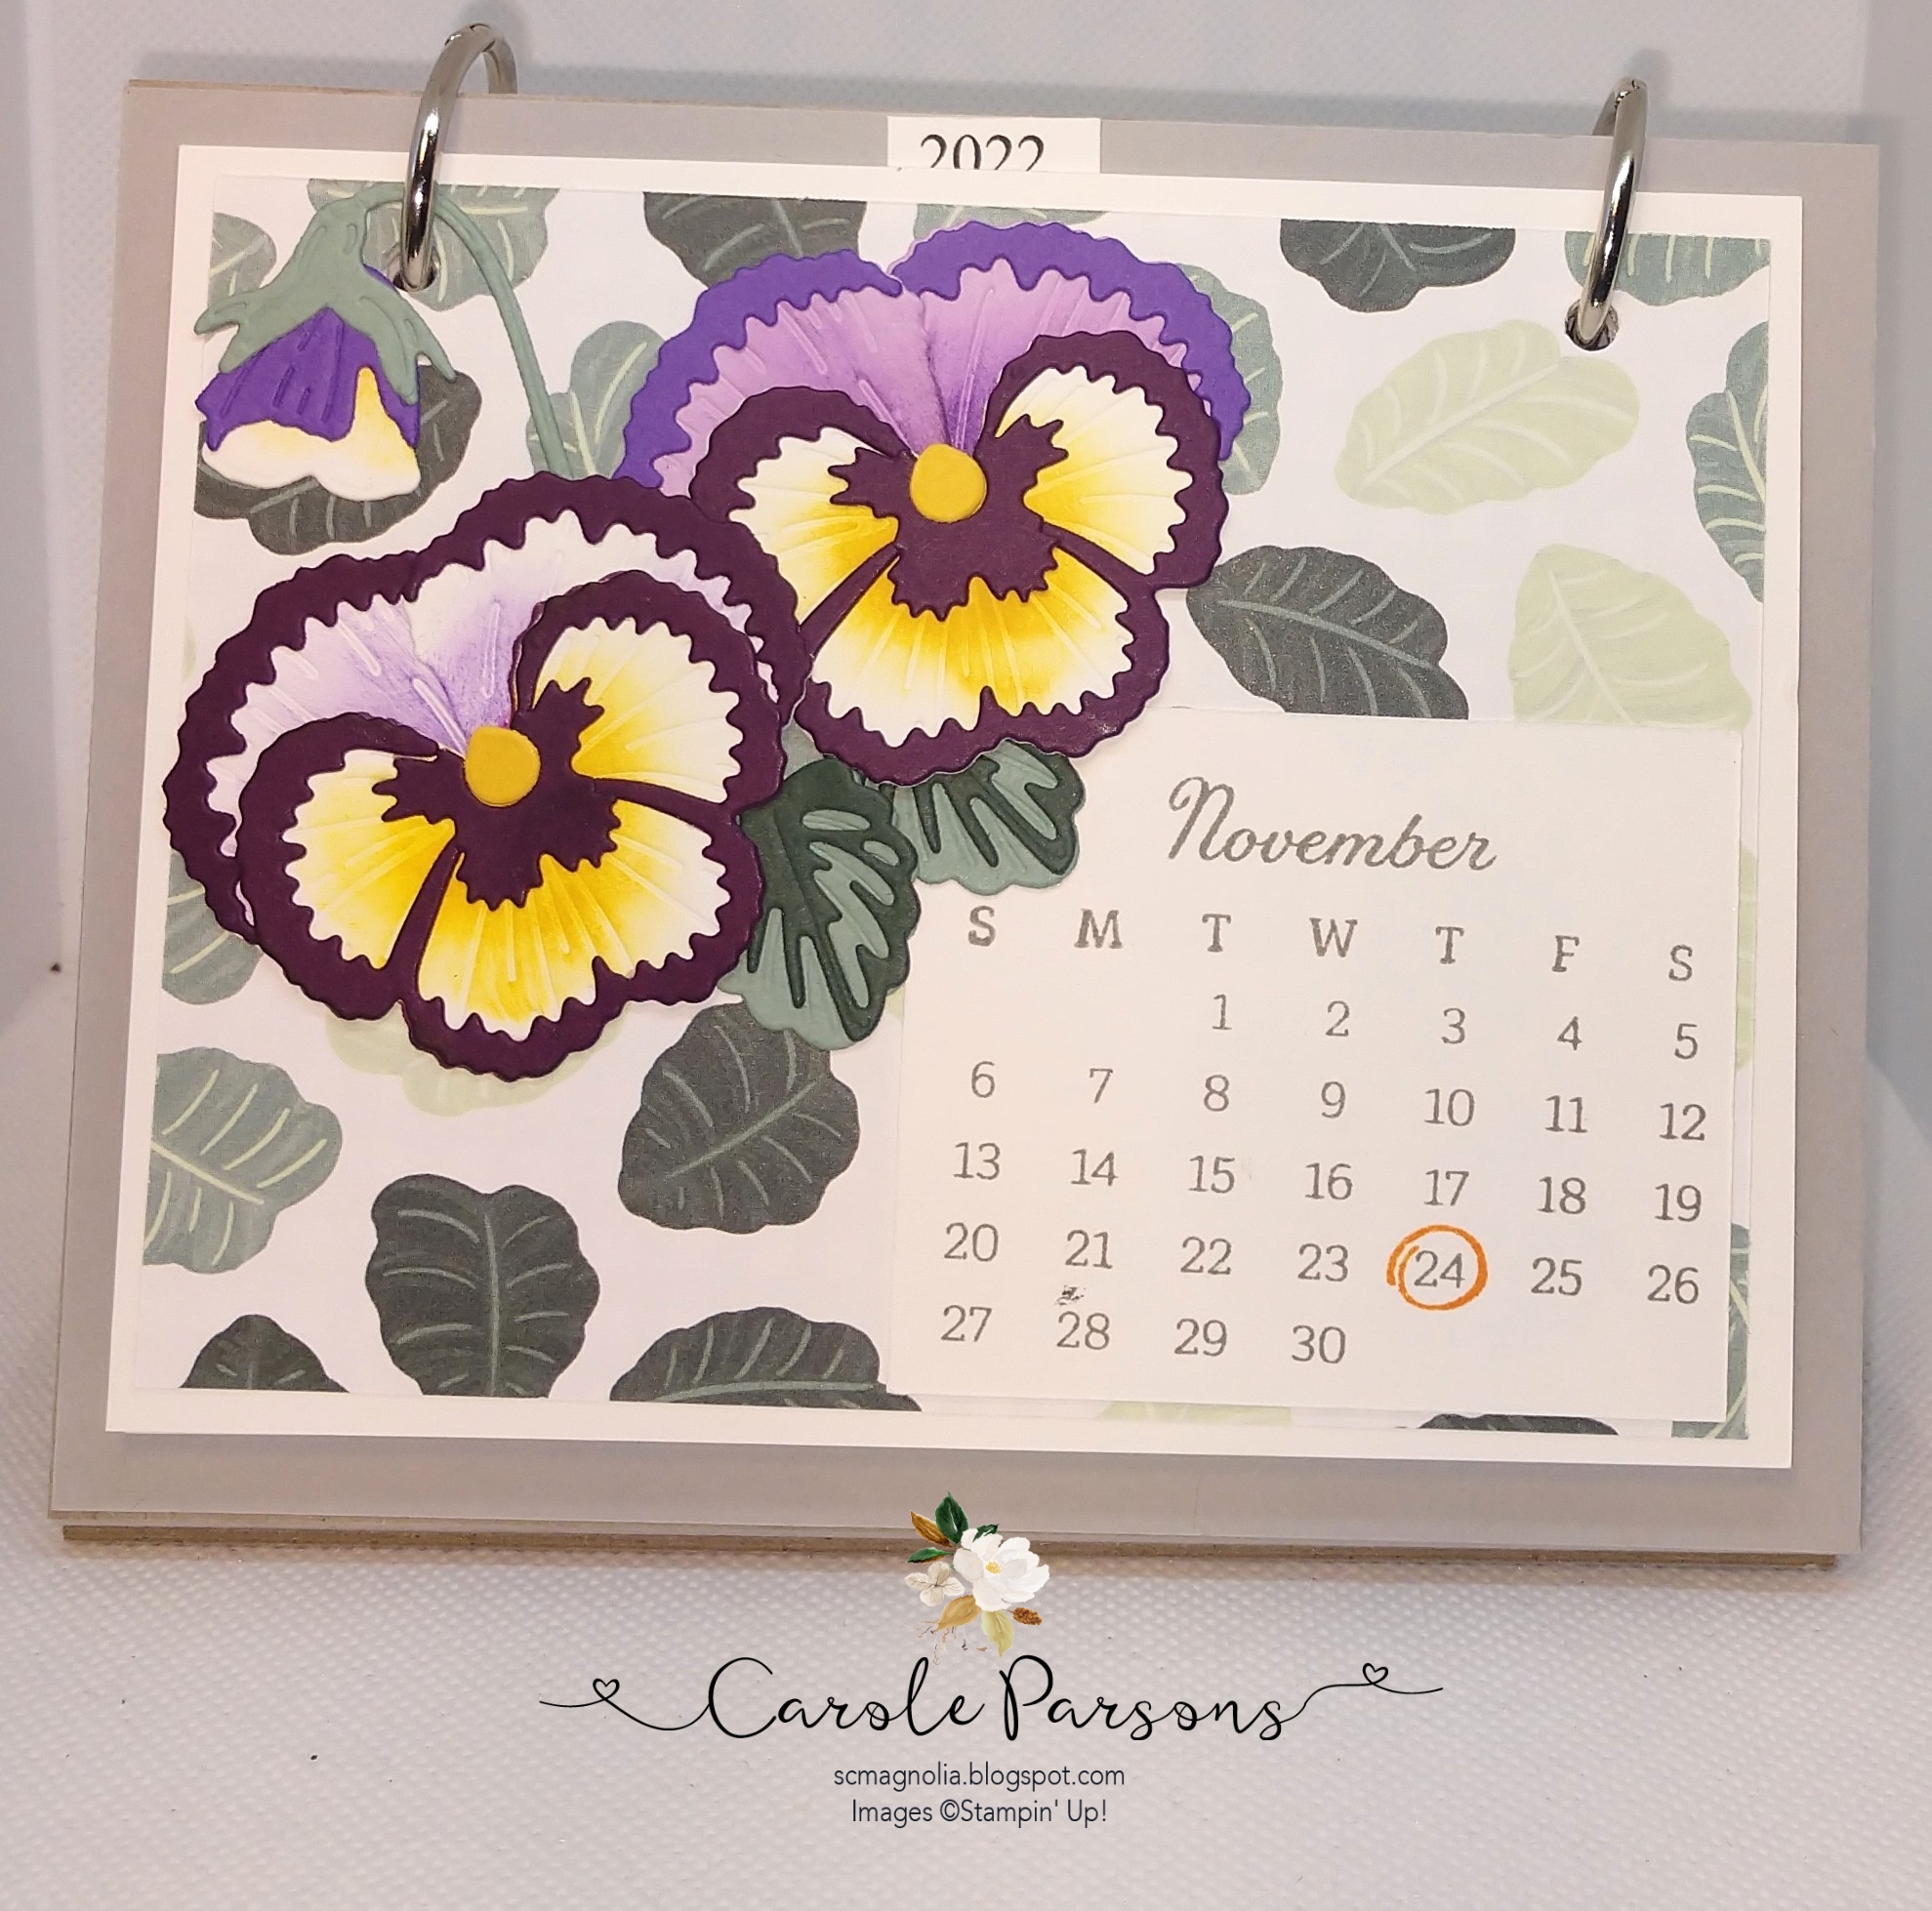
Here are two more styles of calendars using the new Days to Remember stamp set. The first one is made just like the Mini Album Calendar, except the stand is stationary. It's not made to close into a album. The second one was inspired by Fellow Demo Gez Carpenter from the UK. I had never thought of having each calendar being a small page that would then flip over. How fun! I made my stand and base differently though. Edited to add photos of the rest of the months in the chipboard calendar.
 |
| This one has a chipboard stand |
 |
| This one has a cardstock stand, the small calendar pages flip over |
Chipboard Easel Calendar: Free Tutorial Here
Flip Over Easel Calendar With Rings: Free Tutorial Here
Two previously posted calendars:
Easel With Tear-Off Calendar: https://scmagnolia.blogspot.com/2021/05/easel-calendar.html
Mini Album Calendar: https://scmagnolia.blogspot.com/2021/04/a-calendar-mini-album.html