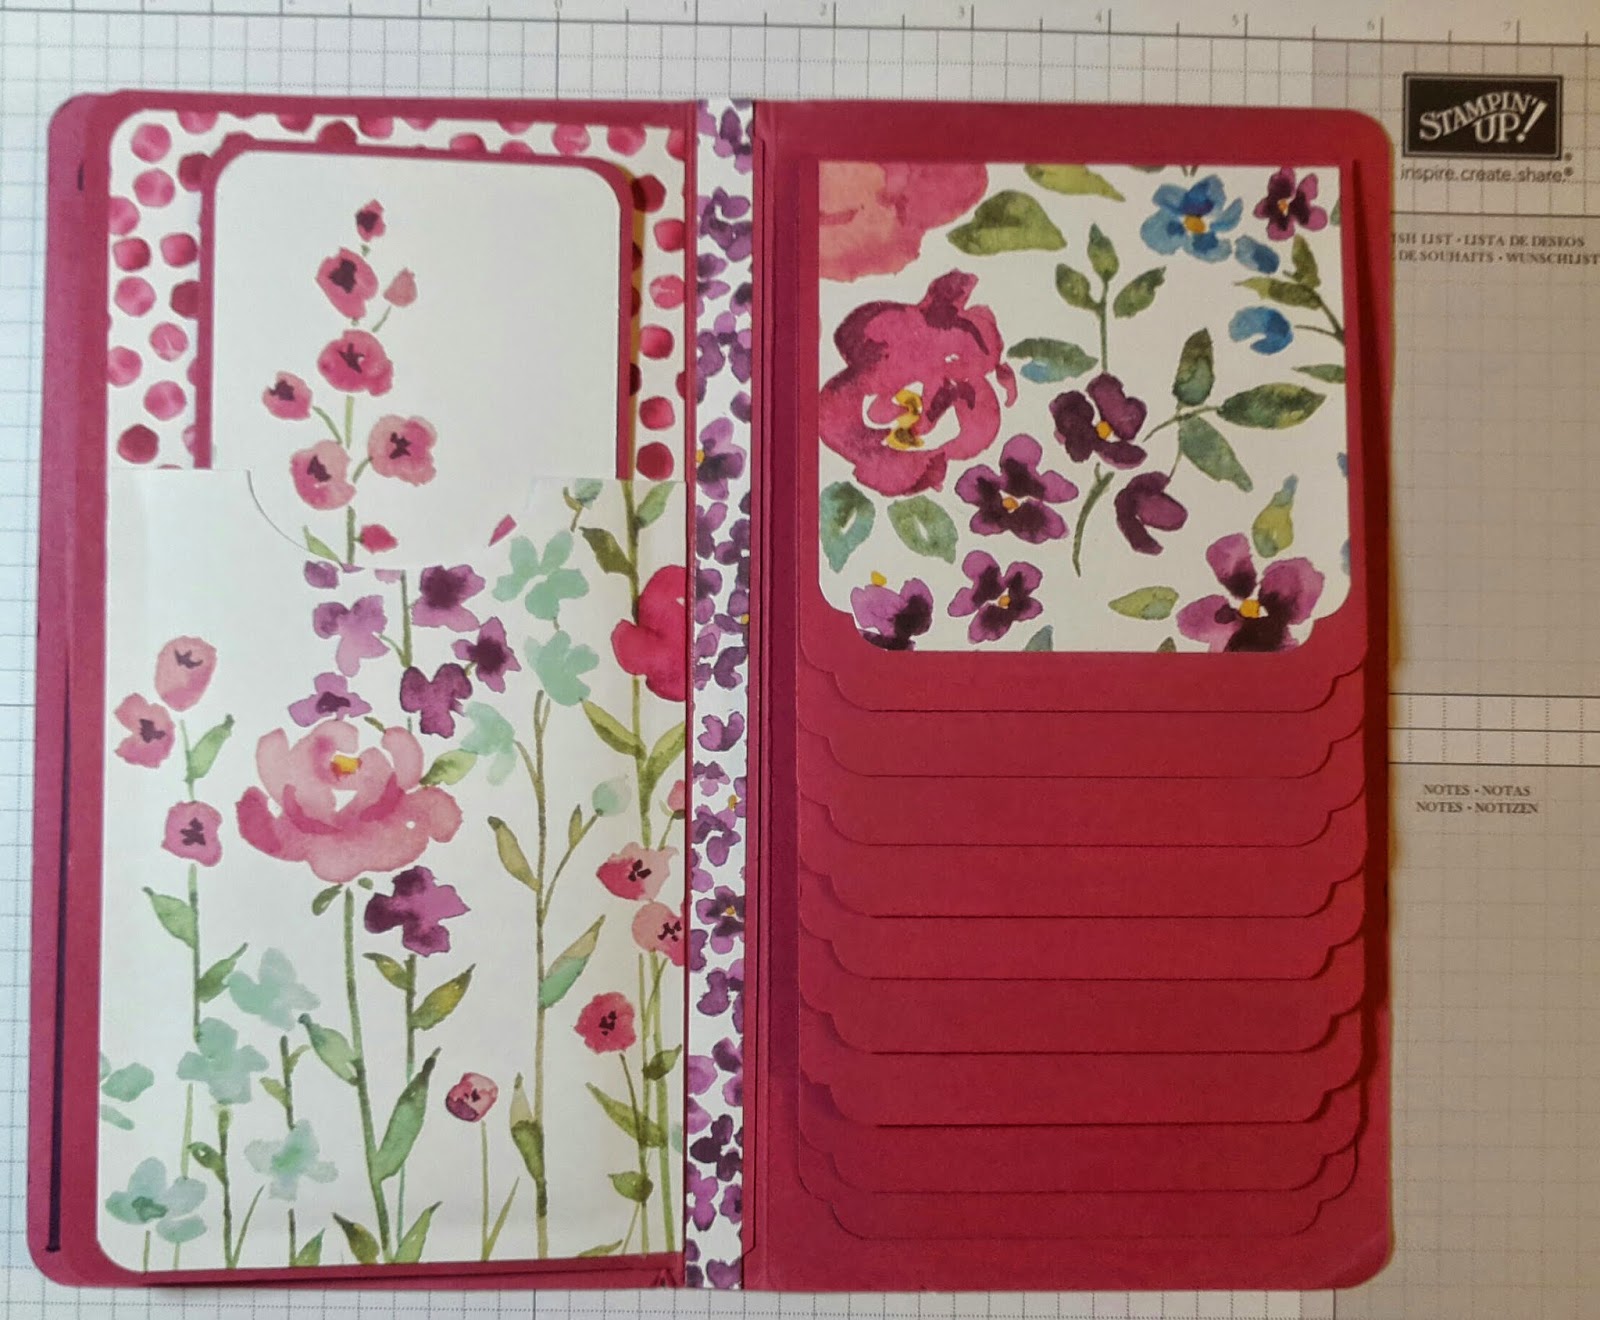
Materials
7 sheets Cardstock, Rose, Red and Blackberry Bliss
6 sheets of 12 x12 Painted Blooms Designer Series Paper
6 sheets of 12 x12 Painted Blooms Designer Series Paper
SNAIL double stick tape dispenser (2 rolls) or glue
Sticky Tape (1 roll)
Corner Rounder punch and Crop A Dile - Scallop/Cloud Cut Corner Chomper
Ruled paper
Corner Rounder punch and Crop A Dile - Scallop/Cloud Cut Corner Chomper
Ruled paper
Cover: Cut 8 ½”
x 9 ¾” then on the 9 ¾” side, score at 4 ½” and 5 ¼”
Cut two
mats from patterned paper 4 ¼” x 8 ¼” and ½” x 8 ¼” for the spine
Page Insert in Spine:
- Cut cardstock 8 ½” x 11,” and score at ½”
- Insert in the middle inside spine and attach double sided tape on one side to attach page
- Cut cardstock page 8 ¼” x 4 ¼” and attach to spine in previous step, then round corners
Page One - Side pocket:
- Cut 5 ½” x 4 ½” on the 5 ½” side score at 5” then rotate and score at ½”
- For diagonal cut on pocket, on the 4 ½” side, pencil mark at 1 ¾” then rotate and put a mark at 3 ½” then cut from one tick mark to the other
- Cut patterned paper for mat on the pocket 4 ¾” x 3 ¾”
- Booklet inside the pocket: cut 7 ½” x 7 ¾”. On 7 ½” side, score at 3 ¾”.
- For booklet mats, cut four pieces of patterned paper 3 ½” x 7 ½”
Page Two – Booklet Pocket:
- Cover page with patterned paper 8” x 4”
- Create a pocket by cutting patterned paper 8” x 2 ½” then adhere with double sided tape on three sides.
- Create card for pocket by cutting cardstock 7” x 6 ½” and score in half at 3 ¼”
- Cut patterned paper mats for the four sides to the card at 6 ¾” x 3”
- Insert the back of the card in the pocket allowing the front to ‘hang out’ as a pretty flap.
Page Three - Top Pocket:
- Cover page with patterned paper 8” x 4”
- Make a pocket with a piece of patterned paper cut 5 ½” x 4” make a finger opening with the oval punch.
- Secure to the page on three sides with double sided tape.
- For the booklet to fit inside the pocket, cut cardstock 6” x 7 ½” and score in half at 3.” Round all four corners for easier insertion.
- Cut four pieces of patterned paper for mats 2 ¾” x 7 ¼”
Page Four - Waterfall
Flaps:
- Base piece of cs 7 ¾”x 4” (decorative corners on bottom)
- Flaps cut 8 pieces that are 4” x 4 ½” score at 4” (decorative corners on bottom of each one)
- Tape on ½” flaps
- Start on top line up at top and sides then stick down
- Line up each subsequent flap just below the previous one right up to the edge
- Patterned paper for flaps: Cut eight for fronts 3 2/8” x 3 ¾” and punch two decorative corners on bottoms of each; Cut eight for backs 3 ¾” x 3 ¾” and punch two decorative corners on tops of each.


