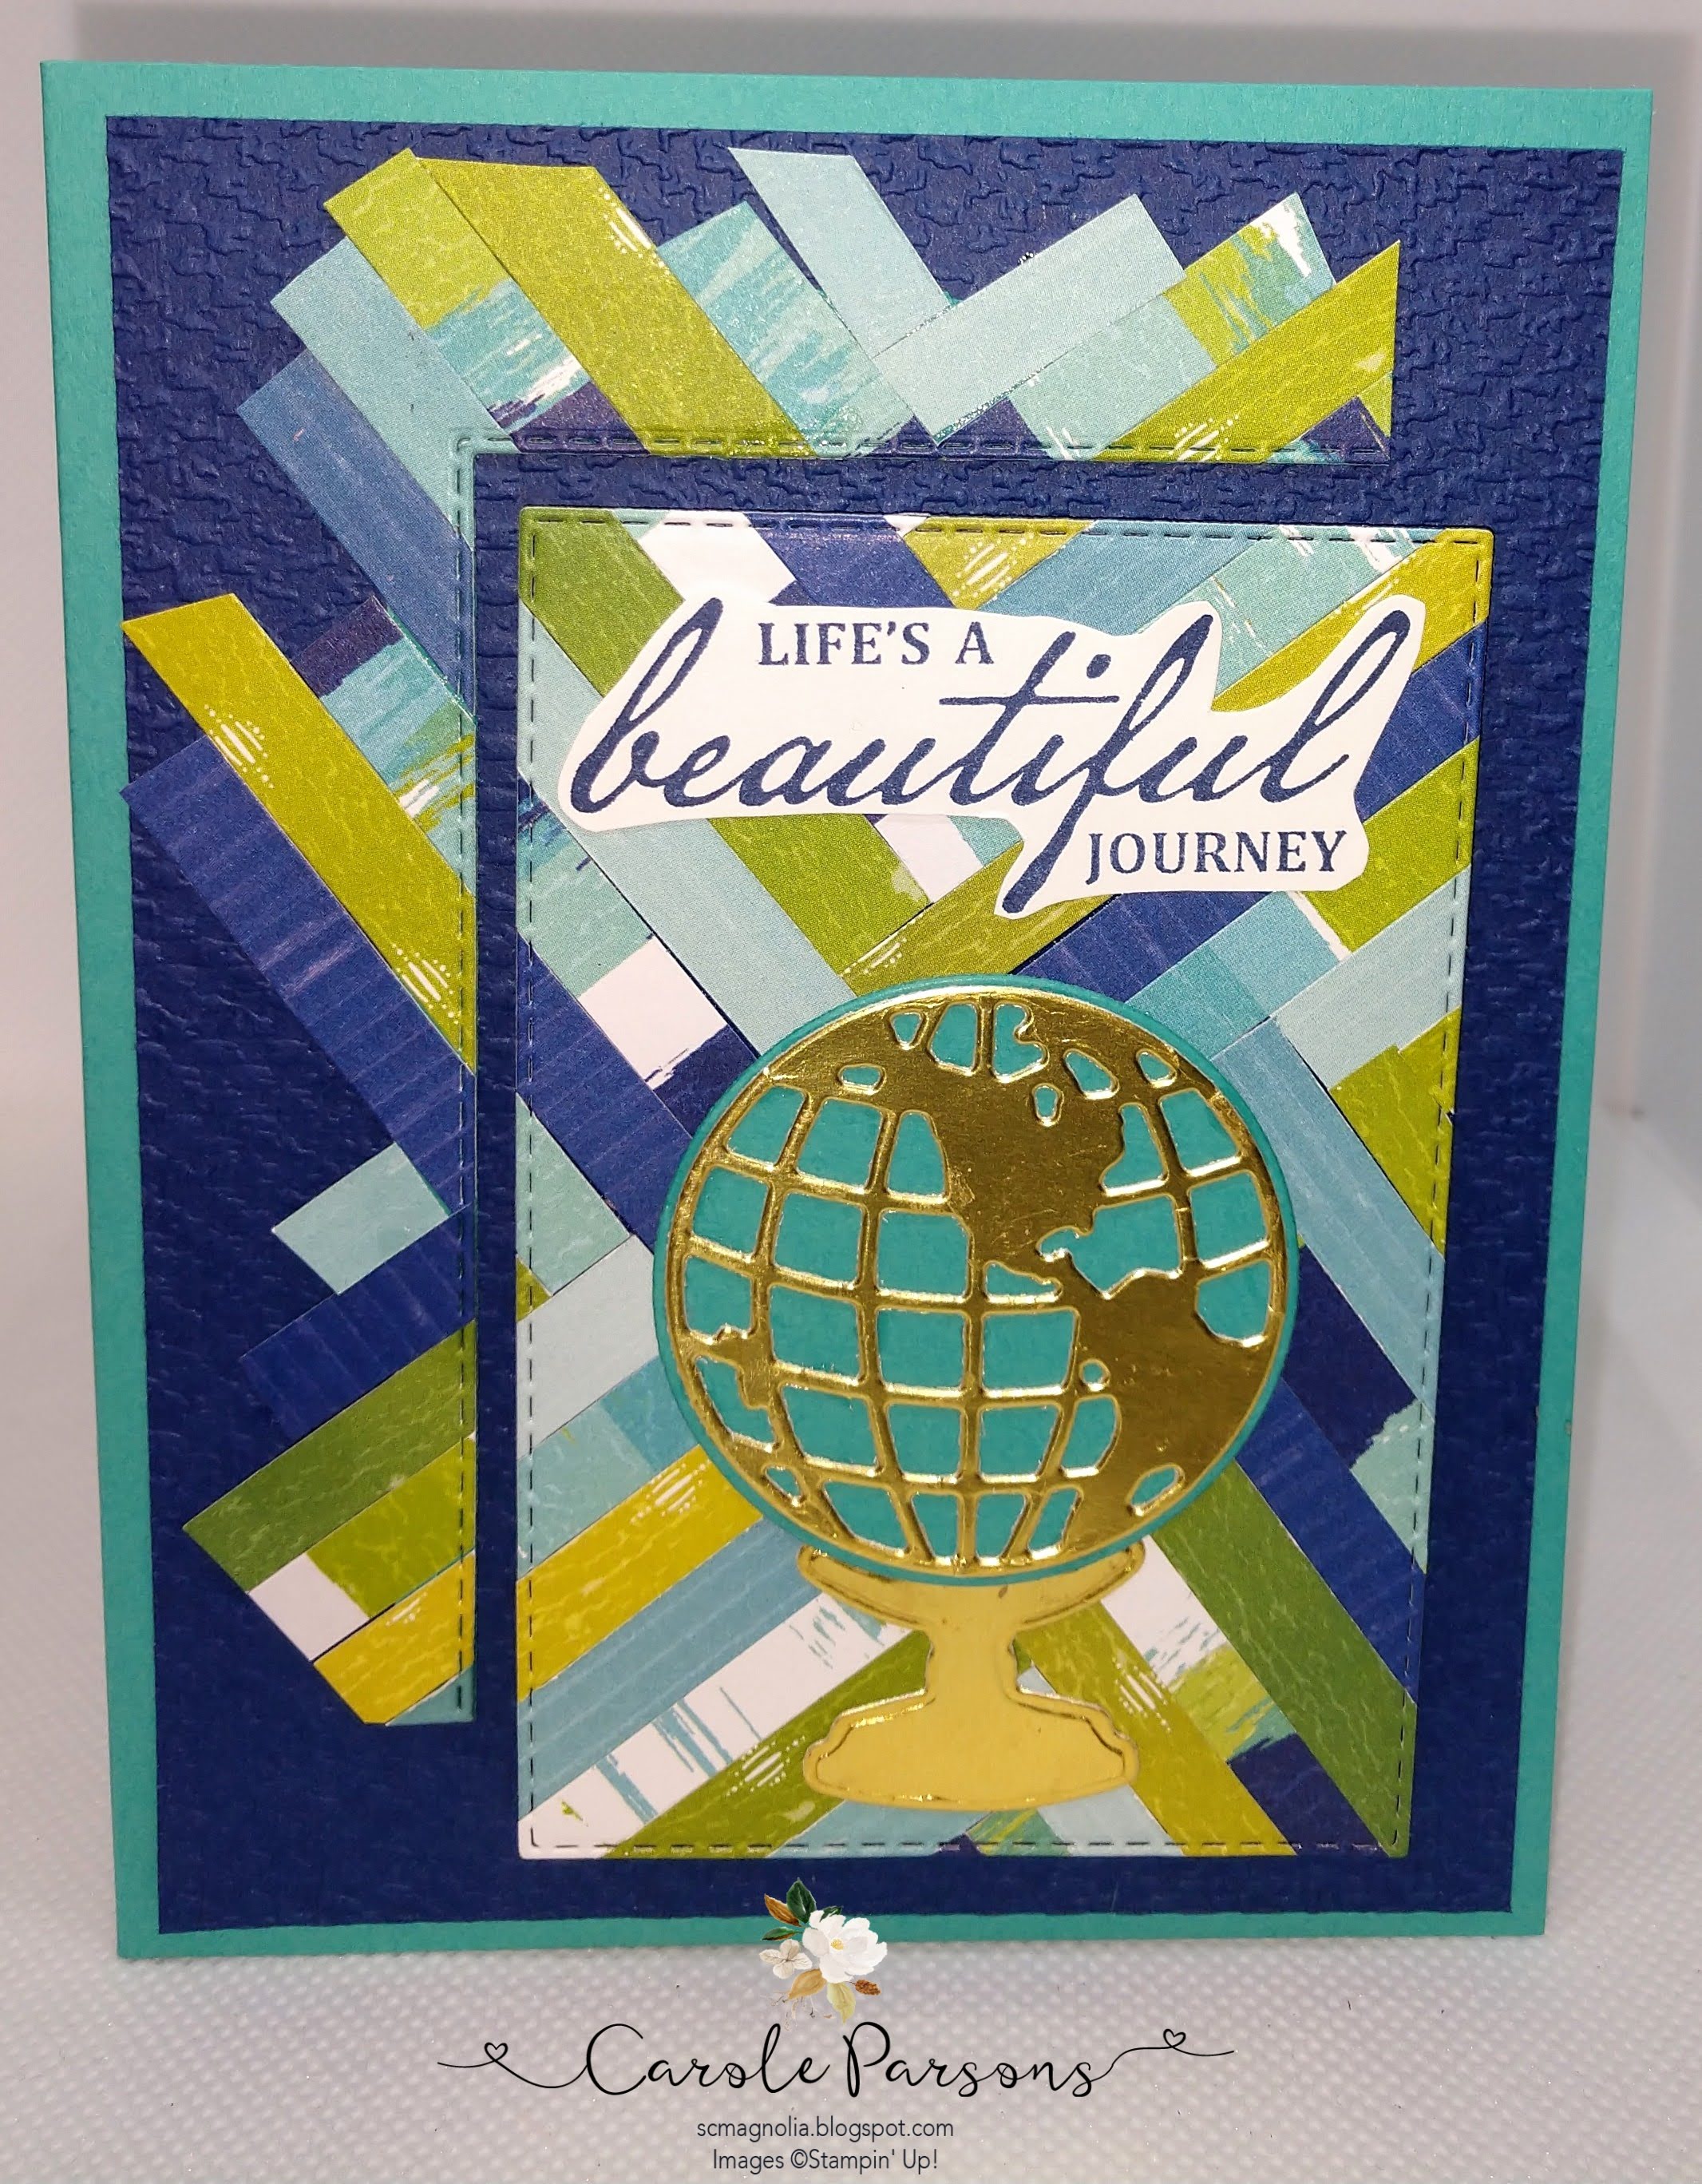
This is a book fold that's a bit different from the one I did earlier this year. I love the Beautiful World Bundle and the coordinating World of Good DSP.
This is the Beautiful World set. The paper is cut using the Scrappy Strip Technique from an Australian Demonstrator, Kylie Bertucci. It looks complicated, but it could not be any easier. You litterally just cut any ole' size/shape and glue it down. See that belt looking thing? That is the new faux suede ribbon, that feels so scrumptious! The slider fits on it perfectly to give it that old world vintage feel.
You can use any Designer Series Paper
that you like with this technique. I wanted a very simple abstract
design, so I chose the Artistry Blooms DSP. I love the bright
colors, and chose to create a card in cool colors and then one in
warm colors.
For stamp sets, I selected collage
style stamps that are small so that the herringbone pattern would
still be the star of the show.
I used Adhesive Sheets to cover the cardstock before applying strips of DSP. You can also use Tear & Tape Adhesive, or other double-sided tape runner. The point is to cover the entire piece of cardstock with adhesive, not glue.
I like strips of paper that are 1/4
inch wide, but this technique can be done with all sizes of strips,
and even varying the strip sizes on the same project. Since a card is
a small platform, I chose to use a smaller size strip.
You can draw the three lines on your
cardstock, but I just place DSP strips directly on cardstock. Begin
by placing three strips of cardstock as show below. Then make ‘V’
shapes of two strips that match as you fill in the quadrants.
For the first layer, I used the largest Stitched Rectangle die, which is roughly 5-1/8 x 3-3/4 inches. After adhering the strips to make the herringbone pattern, I used the third from the largest die, which measures roughly 3 x 4-3/8 inches. I love the nice finished edges these dies provide, but you can certainly cut with your paper trim and have plain edges.
Remember in the video how I showed the outside edges of the pattern after I cut it out with the stitched rectangle dies? I had so much fun playing around with those cool looking pieces!
First, I cut the 'frame of leftovers" in half.
On this one, I used that half, then a straight piece to fill in along the bottom. This created a frame. Tasteful Touches Stamp Set
On this card, I used the "leftover frame" AND the finished herringbone piece. I used the diecuts from the Beautiful World bundle.