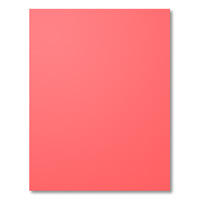
- Use Watermelon Wonder for card base- cut 5 ½” x 8 ½” score at 4 ¼.”
- Cut Affectionately Yours designer series paper to 4” x 5 ¼..” Adhere this layer to card base.
- Use Everyday Jars Framelit to cut through both the card base and the layer on top.
- Cut a piece of Window Sheet: 2 ¼” x 3 ½.” Apple Fast Fuse all around the edges of the jar cut hole – on the inside of the card. Then place Window Sheet on top to adhere firmly.
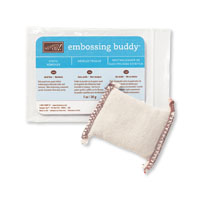
- Apply a strip of Adhesive Foam all around the edges of the jar cut out, right on top of the window sheet. Rub Embossing Buddy around the Adhesive Foam Strip to prevent static cling from interfering with the shaking of the sequins.
- Fill inside the Adhesive Foam with sequins. Then remove the protective backing on the foam strip and adhere cardstock over top.
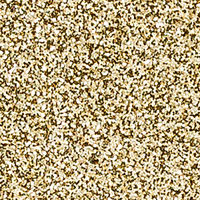
- To finish off the front, stamp flowers, leaf and jar rim, then cut out with framelits. Adhere as shown to jar on card front. Apply a strip of Gold Glimmer paper or washi tape to edge of card front as shown.
- Punch Watermelon Wonder with the Banner Duet punch. Stamp sentiment on Whisper White and punch out with the same punch then cut off the ends and layer over the Watermelon Wonder banner. Apply to card with Stampin’ Dimensional.
Friday, June 17, 2016
My First Shaker Card
We had such fun in class today. Here are the directions for the shaker card we made. For class I had everything cut and ready to go.... but I cut the Window Sheets the wrong size. Every single one of them! I made a quick fix with some scotch tape, so everyone could make the card. The dimensions for the Window Sheet have been corrected below:) There is a video tutorial on a previous post: http://scmagnolia.blogspot.com/2016/06/shaker-card.html


