background

Showing posts with label Quiet Meadow. Show all posts

Friday, April 28, 2023

Fence Technique

 We went to one of our local nurseries today (Grass Roots in Graniteville, SC) and wow! Loads of inspiration! Not only do they have greenhouses full of plants, one of them has tropical plants with parotts and other lovely birds, amongst the plants. They also have a koi pond and a river water feature. Oh and did I mention plants? Oh my gosh bazillions of plants. 

As we got home with our load of flowers to plant I thought of the fence and trellis cards with stamped or diecut flowers on them. This is a fence card. I'll do a tutorial for the Trellis card in the next couple days.


Materials:

Stamps: Quiet Meadow

Paper: Gorgeous Grape, Old Olive, Mossy Meadow, Thick Basic White

Ink: Gorgeous Grape

Tools: Meadow Dies, washi tape or low tack tape

Preparation:

  • Thick Basic White card base 4-1/4 x 11 scored @ 5-1/2

Assemble Card:

  1. From bottom of card front, trim off five 1/2" strips and two 3/8" strips.

  1. Trim the tops of the two 3/8" strips, which will be the fence posts then set aside.

  2. Add a strip of washi tape to just under front card flap, with sticky side up.

  3. Lay one of the half inch strips across the bottom of the card front, lining it up at the bottom edge over the tape.

  4. Add the additional four strips leaving space in between.


  1. Add a dot of liquid glue along the two sides of the card to attach the fence posts (as shown with pencil dots in photo above).

  2. Attach both 3/8" strips for the fence posts, and let dry. Trim the excess from the bottom. Then carefully remove the wasi tape.

  3. Decorate with any diecuts or stamped diecut pieces you wish.


Saturday, August 28, 2021

Stamping Class Fun

 Stamping Class yesterday was so much fun! It's always more fun to stamp with friends. Here are the cards we made.

Stamps

Sparkle of the Season

Card Stock

Old Olive, Crushed Curry, Cajun Craze, Cherry Cobbler, Pumpkin Pie, Gray Granite, In Good Taste DSP

Ink

Gray Granite, Versamark, Pumpkin Pie, Old Olive, Cajun Craze, Crushed Curry

Embellishments

Linen Thread, Basic Pearls, Expressions in Ink Ephemera Pack, Gold Enamel Dots, Gold Emboss Powder

Tools

Seasonal Swirls Dies, Brick & Mortar EF, Tasteful Labels Die, Heat Tool


Stamps

Plentiful Plants

Card Stock

Crumb Cake, Very Vanilla, Pale Papaya

Ink

Pale Papaya, Early Espresso, Pear Pizzazz, Soft Succulent, Memento Tuxedo Black, Stampin' Blends Bronze

Embellishments

Basic Pearls, Stampin' Dimensionals

Tools

Perfect Plants Dies, Tasteful Textile 3D Embossing Folder, 2-1/2” 2-1/2” Circle Punch,

Stamps

Quiet Meadow

Paper

Soft Seafoam, Mossy Meadow, Basic White, Vellum

Ink

Mossy Meadow, Soft Seafoam

Embellishments

Stampin' Dimensionals

Tools

Meadow Dies


Tuesday, July 6, 2021

Card Class

 This card was pretty simple and it turned out to be so elegant looking. We used the adhesive sheets on the back of the gold foil paper before diecutting. That way it becomes a sticker and is so much easier to apply to the DSP. That's it! Gorgeous DSP and a diecut. I meant to stamp the greeting directly on the DSP, but I had an oops, so I stamped on Basic White cardstock and adhered over the oops.

Stamps

Artistically Inked

Card Stock

Shaded Spruce, Basic White, Gold Foil, Expressions in Ink DSP

Ink

Shaded Spruce

Embellishments

Expressions in Ink Ephemera Pack

Tools

Artistic Dies

  1. Shaded Spruce card base: cut 4-1/4 x 11 score @ 5-1/2

  2. DSP layer: 4 x 5-1/4

  3. Diecut from Gold Foil 4-1/2 x 1-1/4

  4. Stamp sentiment directly on DSP in Shaded Spruce


This card has a beautiful marbled look using Stampin' Blends alcohol ink markers on vellum and 91% alcohol. By dabbing with a paintbrush you get this striking background. I kicked it up a notch, by adding some Multipurpose glue with a fine tip applicator. Then sat it on top of the gilded leafing flakes in a box and volia! Instant pizzazz:)

Stamps

Quiet Meadow

Paper

A: Misty Moonlight, Soft Seafoam, Balmy Blue, Mint

Macaron

B: Rich Razzleberry, Highland Heather, Fresh Freesia

Ink

Misty Moonlight, Rich Razzleberry

Stampin' Blends:

A: light Night of Navy, dark Old Olive, dark Pretty Peacock

B: dark Rich Razzleberry, dark Highland Heather, dark Rococo Rose, light Lovely Lipstick

Embellishments

Gilded Leafing

Tools

Meadow Dies

  1. Misty Moonlight card base: cut 8-1/2 x 5-1/2 score at 4-1/4.

  2. A: Soft Seafoam B: Highland Heather layer: 4 x 5-1/4

  3. Vellum: 4 x 5-1/4 - Begin by applying splotches of color with Stampin' Blends onto vellum cardstock. Cover most of the surface. Use the bullet tip.

  4. Use a paint brush to apply 91% alcohol and not be afraid to be generous in your application. Don't swish it on with the brush, use a daubing/pouncing motion. Allow to dry.

  5. Apply Multipurpose glue with a fine tip applicator following some of the 'veins' in the ink pattern. Place the cardstock upside down in the leafing container, finally rub off the access.

  6. Basic White: 4 x 5-1/4 - Mount the completed vellum piece on white cardstock, then trim all four sides to 3-3/4 x 5.

  7. Meadow Diecuts – leaf and flower

    A: Mint Macaron leaf 2-1/4 x 4-1/4 and Balmy Blue flower 1-1/2 x 4-3/4 B: Rich Razzleberry leaf 2-1/4 x 4-1/4 and Fresh Freesia flower 1-1/2 x 4-3/4

  8. Greeting diecut: A: Balmy Blue B: Highland Heather 1-1/4 x 3-1/4

  9. Basic White inside 4 x 5-1/4


This fun fold card opens like a double door. You need a whole sheet of cardstock, and you'll cut away two sections.


Stamps

Plentiful Plants

Card Stock

Cinnamon Cider, Basic White, Just Jade, Bloom Where You're Planted DSP

Ink

Just Jade, Cinnamon Cider, Bronze Stampin' Blend

Embellishments

Basic Pearl, Stampin' Dimensionals

Tools

embossing folder, Perfect Plants dies

  1. Cinnamon Cider card base 8-1/2 x 11

  • on the long side across the top, score @ 5-1/2

  • on the short side across the top, score @ 2-1/8 and 6-3/8

  • with the 8-1/2 side across the top, remove top two side flaps: use trimmer to cut, IT WILL LOOK LIKE A CAPITAL UPSIDE DOWN T. 

  • Use bone folder to burnish the middle flap and side flaps.

  1. Just Jade: (4) pieces 2 x 5-1/4

  2. DSP brick pattern: 4 x 5-1/4

  3. DSP plant pattern: (4) 1-7/8 x 5-1/8

  4. Basic White for front flap 3 x 4 embossed

  5. Basic White for front sentiment: 5/8 x 3-1/2 flag ends after stamping

  6. Basic White for the inside: 4 x 5-1/4

  7. Use dies to cut pot and plant from DSP

  8. Very Vanilla: 3-1/2 x 1-1/2 plant hanger die

  9. Adhere plant behind pot, and macrame hanger on front. Attach to card with dimensionals


Thursday, May 6, 2021

Alcohol Ink on Vellum

Tina Zinck and Angela Meyer inspired me to try using alcohol and Stampin' Blends on vellum again. Their results were stunning! When I last tried this technique, I followed the advice from a UK Demo and used a water brush to blend the alcohol inks from Stampin' Blends. They just didn't blend much. Tina used a paint brush to apply alcohol and I noticed in her video, she was quite generous in her application. I thought that must be the difference. The water brush only allowed a bit of alcohol and it was diluted of course. I tried it again and I LOVED it:) 

I also liked Tina's idea of mounting the completed vellum piece on white cardstock, and then dry embossing with the Painted Texture embossing folder. Those crinkles and hills and valleys in the paper provide the perfect texture and serve as a guide for placement of gilded leafing.

Then I took a wrong turn. Instead of simply brushing a VersaMark pad lightly over the top of the paper (hitting those hills) or applying Multipurpose Liquid glue, I used a paintbrush to apply thick splotches of VersaMark refill ink to the  'hills' with a paint brush. I thought I was being soooo clever! lol I couldn't have been more WRONG!  As I applied Heat and Stick Powder to the VersaMark splotches, it still looked wet. Even after using the heat tool and applying the gilded leafing, it was still sticky and wet. I added more leafing, heated to dry and still had a mess. 

I finally just did what Angela suggested in the first place and applied Multipurpose glue, allowed it to dry to a tacky state, then placed it upside down in my leafing container. I rubbed off the access and had nothing wet or sticky left. whew! So take a lesson from me, and don't brush on globs of VersaMark refill ink! A little goes a long way. Our Multipurpose Liquid Glue works fine as well.

Tina Zinck, the one with the video, is from Canada. She taught me a good deal about uploading videos to YouTube without high speed internet. It worked for a while, and now it just doesn't. Hopefully this fall, when Elon Musk is done launching all those satellites, we will have high speed internet!! (We signed up when he first announced). You'll love Tina's video!  https://youtu.be/C1lmxWJvxSg


Note on Supplies listed below: Now that I think about it, I'm pretty sure I used some Rich Razzleberry Stampin' Blends too.

Product List

Monday, May 3, 2021

Watercolor with Quiet Meadow

 This was such fun to make!! I started with a Thick Basic White card base. Then a layer of Basic White embossed with the Scripty embossing folder. Next, I used a die from the Quiet Meadow bundle cut from vellum. Then the fun began. I experimented with Stampin' Blends and our ink pads. The blends colored nicely on the vellum, but I LOVED the watercolor look using our inks!!!! I placed some small blocks on the stamp pads to get some ink. I used the In Colors: Soft Succulent, Evening Evergreen, Fresh Freesia and Polished Pink. I used the Water Pen to pick up ink from the block and apply to the flower. It blended so nicely.  I glued the flower to the embossed layer, then a frame cut from white with Layering Square Dies. The sentiment was done with the Many Messages bundle.


Tuesday, April 27, 2021

Coming Next Week in the New Catalog

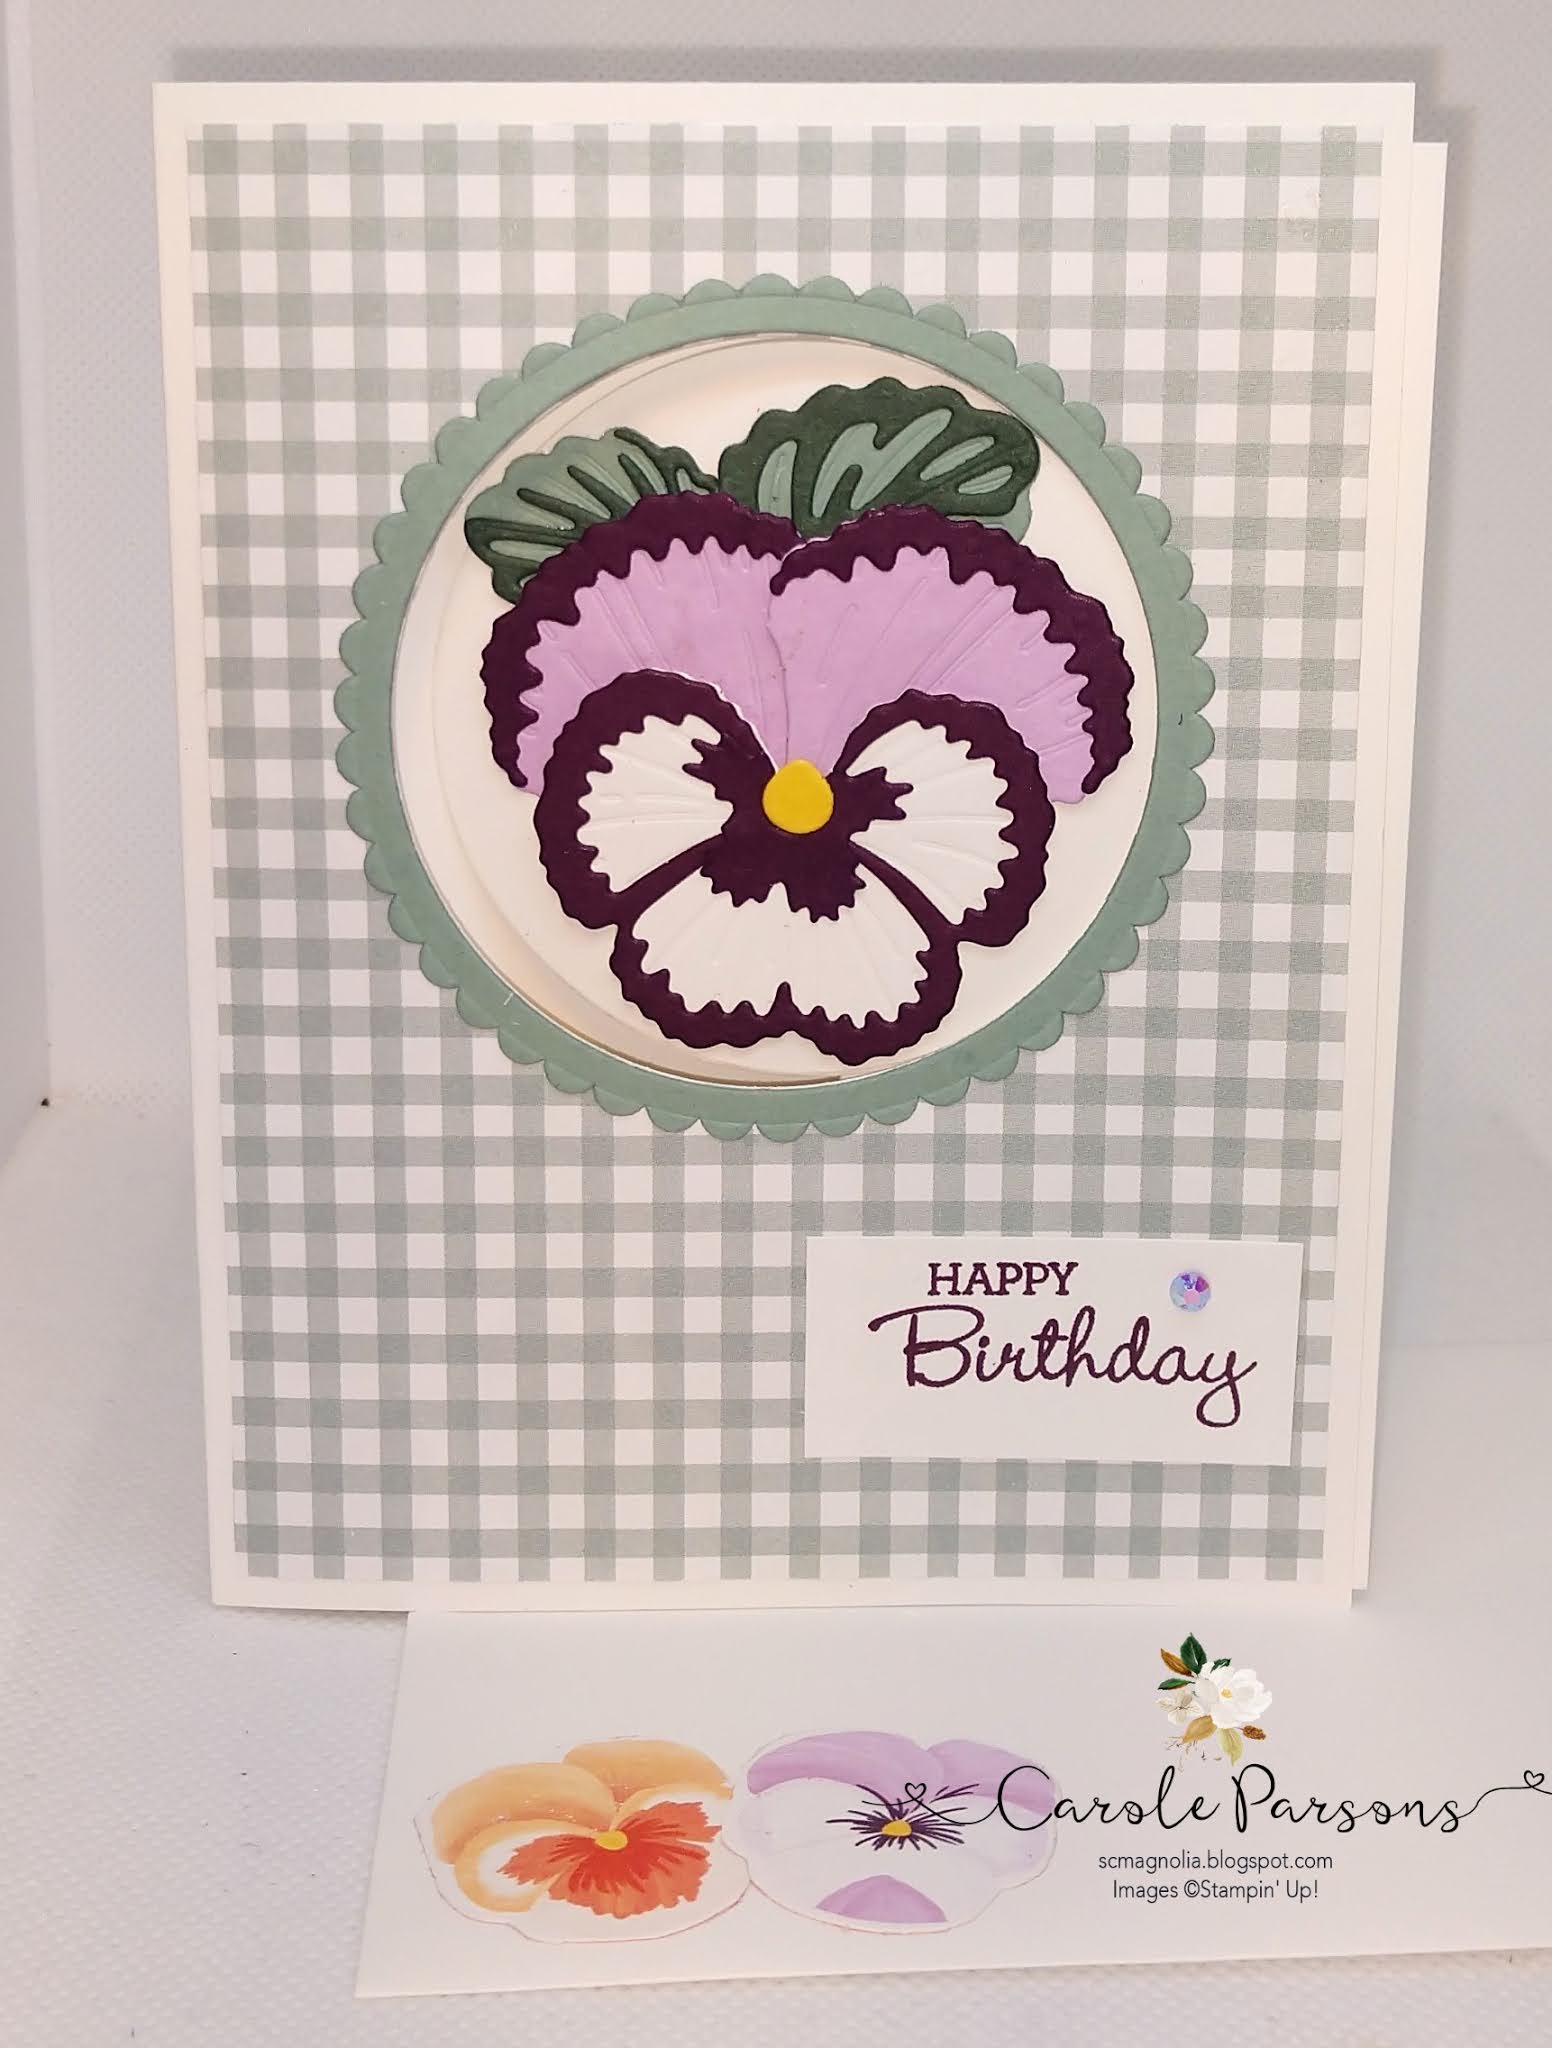
 Here are a batch of cards made from NEW Catalog products! First is a fun fold using the Pansy Patch bundle and coordinating DSP. Then there are three cards using the Quiet Meadow bundle. I ADORE these dies!! They have so much potential!

Pansy Patch bundle and coordinating DSP


Pansy Patch bundle and coordinating DSP


Misty Moonlight, Basic White, Seaside Spray, and Champagne Foil

Champagne Foil, So Saffron, Basic White, Blushing Bride

Evening Evergreen, Basic White, Polished Pink, Fresh Freesia


Wednesday, April 21, 2021

More NEW Things Coming

 I have some more pretty things to share with you today. The new catalog goes live on May 4!! 

The first card is made with a stamp set called Elegantly Said, and it comes with coordinating DSP, Metallic twine and a punch. In this sample I used Soft Suede and Copper Emboss Powder for a fun metallic blend.


The card below was made with the Quiet Meadow stamp set, and coordinating Meadow dies. This type of silhouette die is so on trend now. I'm so glad we have it too! This card has two new In Colors, Pale Paypaya, and Evening Evergreen. In the background, I stamped the flower and splatters in Pale Papaya (stamped off).

This last card was done with the Quiet Meadow bundle too. The first layer is Blushing bride, then Basic White that has been colored with Blending Brushes and Pale Papaya and Polished Pink inks. The diecuts were made from Pale Papaya, Basic White, Champagne Foil, and Blushing Bride. On the Blushing Bride flower, I stamped the flower randomly to give the look of a print.

Sunday, April 18, 2021

Sneak Peek

 Coming in the new catalog (May 4) is this bundle called Quiet Meadow. Here I just used the die cuts and watercolored them with ink from my pads and a water painter.


Wednesday, April 14, 2021

New Catalog Sneak Peeks!!

My pre-order for the new 2021-2022 Annual Catalog came on Monday and I have been organizing, labeling and creating like crazy. What I want to show you today are the indexes that I've made so far. There are two for the Pansy Petals Suite because after I did mine, a Demo from Australia shared hers, which has a different approach and I like it better. I'm showing both so that you can see exactly how wonderful these stamps and dies create GORGEOUS flowers!!